On This Page
Modifying Rules
SecureTrack lets you select rules that you want to modify from the Policy Browser, and then create a SecureChange rule modification request that includes the selected rules. You can add or clear network objects or services within the selected rules.
Rules that are active in another ticket (identified with the ticket icon ![]() in the Policy Browser) cannot be added to the ticket rules list. Each ticket must include rules from a single device only. To work with rules for multiple devices, create a separate ticket request for each device.
in the Policy Browser) cannot be added to the ticket rules list. Each ticket must include rules from a single device only. To work with rules for multiple devices, create a separate ticket request for each device.
For supported devices, you can run SecureChange Designer to provision the changes.
Add to ticket
![]() is disabled if:
is disabled if:
-
There is no SecureChange user with the same username as the SecureTrack user.
-
When the user does not have permission to request SecureChange tickets or when there is no relevant workflow for this user.
-
SecureChange is set with segregated domains mode and you do not have access to the domain.
-
SecureChange is not installed.
Prerequisites
-
The user must exist with the same username in both SecureTrack and SecureChange.
-
The user must have Create change requests and view 'My Requests' tab permission in SecureChange. This permission is enabled by default for the Requester role.
-
To ensure that the relevant workflow is mapped to the Modify rules action from the Rule modification request in SecureTrack, the SecureChange administrator must create a new workflow in SecureChange with the Rule Modification property, and include the Rule modification field in the relevant steps.

How do I create a Rule Modification ticket request?
- In Policy Browser, search for, and select the desired rules.
Use the <CTRL> and <SHIFT> keys to select multiple rules.
- Click
 to add the selected rules to the ticket's list of rules.
This button is disabled if no rules are selected.
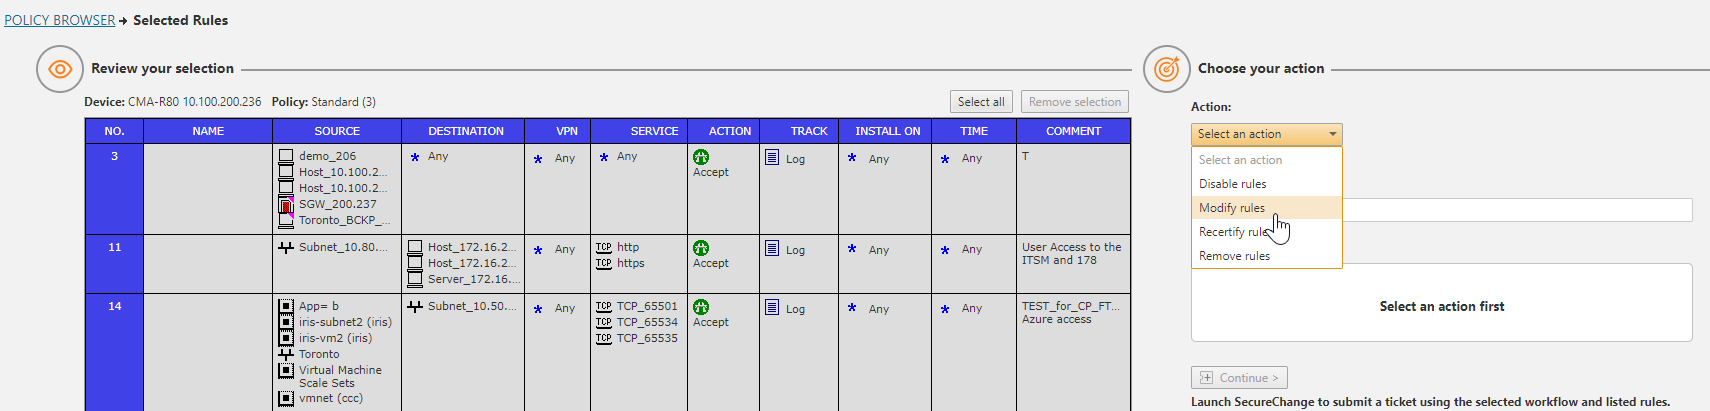
- Click
 to review the selected rules.
The Selected Rules window is displayed.

-
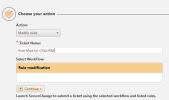
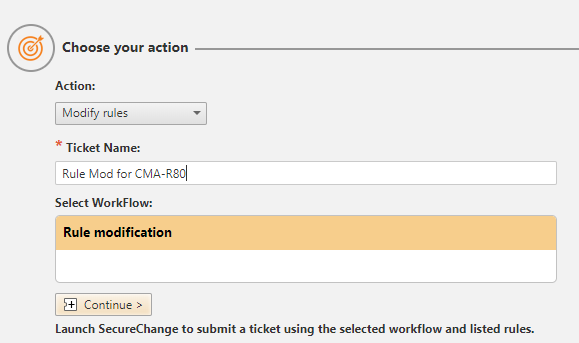
Review the selected rules and select or fill in the required fields (Action, Ticket Name, Select WorkFlow).
- Select and remove rules that you do not want to include in the ticket request.
- Click
 to launch SecureChange and to submit the ticket request using the selected workflow and the list of rules.
The SecureChange ticket request appears in the My Requests window, with the workflow and rules that you selected.
Once you submit the ticket, the list of selected rules in SecureTrack is cleared.
-
Review the ticket request in SecureChange, and click
 .
.
Rule Modification Tips
Use the Rule Modification action to create tickets for quick remediation:
-
To enable firewall administrators to edit "allow" rules, and add or remove objects that are "known" to Tufin in the source or destination fields.
-
To update a rule as:
-
Part of an access decommission. For example, a user wants to remove an object from the source to decommission an access.
-
Remediation for a cleanup. For example, as part of normal cleanup processes, a user searches for rules with unused devices or services, finds the rules and determines that the remediation action is to update the rule and remove the unused objects.
-
Remediation for APG update
-
Remediation for Policy Violations. For example, a user is looking at rules which violate the USP Policy and determines that the remediation action is to edit the rule by removing a device or service.
How Do I Get Here?
To view the Policy Browser:
- In SecureTrack, click Home > Policy Browser.
