On This Page
Creating Users or User Groups
You can add users (local or LDAP) and user groups to the source or destination of a connection.
Create a User or User Group
-
In Applications, click on an application.
The application opens in the Connectivity tab.
-
In the Resources pane, open the Users expander to view the list of users available to all applications.
-
Click
 and select either:
-
New local user: A user that you can associate with a specific IP address.
-
New LDAP user: A user account in an LDAP server.
The LDAP user is not associated with an IP address. Therefore, in SecureChange, if the access request has been configured in the workflow to show User from Palo Alto Networks devices then when you open a ticket for a connection that uses an LDAP user, the LDAP user name appears in the User field of the access request. If not, the LDAP user is not included in the ticket. -
New user group: A group that can include users and LDAP users.
-
Enter the details for the user or user group.
-
User: Enter the name and IP address of the user.
-
LDAP user: Enter the name of the user.
-
User group: Enter the name and description of the group, and select the local or LDAP users to include in the group. You can also click New Local User or New LDAP User to create a new user and automatically add the new user to the group.
After you create a group, to search for members within the group you can either:
-
Select the group from the Resources and click
 .
. -
View a connection where the group is used and click on the name of the group.
-
-
You can use this option to add an LDAP group with free text. Type
@<name of the LDAP group>in the New LDAP user window.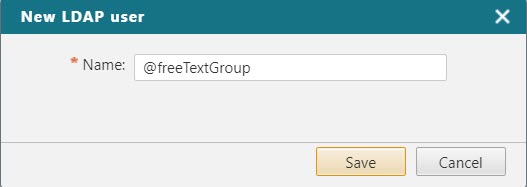
-
-
Click Save.
You can now add the user or user group to a connection, or select the user or user group and click ![]() to change the details.
to change the details.
