On This Page
RMM for T-510/T-1100/1100XL Gen 3.5 Appliances
Appliances T-510, T-1100 and T-1100 XL are being phased out and will reach EOL (end of life) in June 2025.
Warranties that expire after June 2025 will remain in effect until their expiry date, but they cannot be extended. For continued performance, reliability and support we recommend upgrading to the latest Tufin appliances.
Overview
The remote management module (RMM) or management port in the T-510 and T-1100/1100XL Tufin appliances lets you connect to an administration web interface for the appliance. In the administration web interface you can use the status and configuration tools to manage the server remotely.
Prerequisites
Ports
The following ports must be open between the appliance and the TufinOS installation host:
|
Use |
Port |
|---|---|
| HTTP | 80 (TCP) |
| HTTPS | 443 (TCP) |
|
KVM |
7578, 7582 (UDP/TCP) |
|
Virtual Media |
5120, 5123, 5124, 5127 (UDP/TCP) |
Configure RMM Using BIOS
-
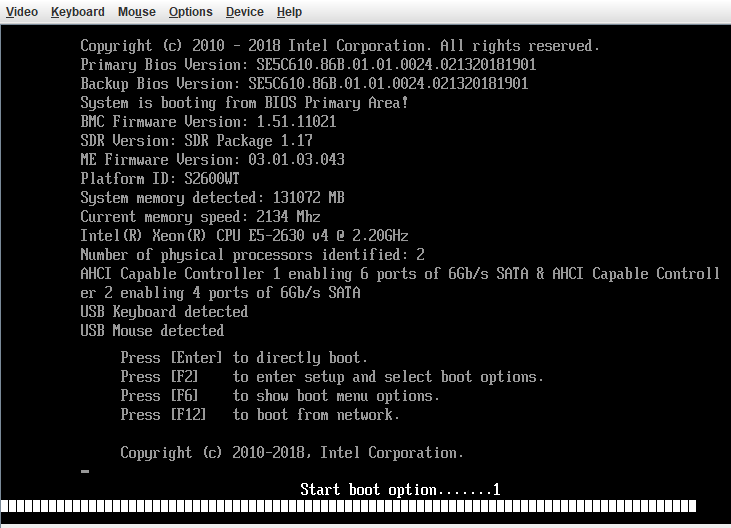
Reboot/power on the appliance.
-
In the next screen, press the F2 key to enter the BIOS setup.
-
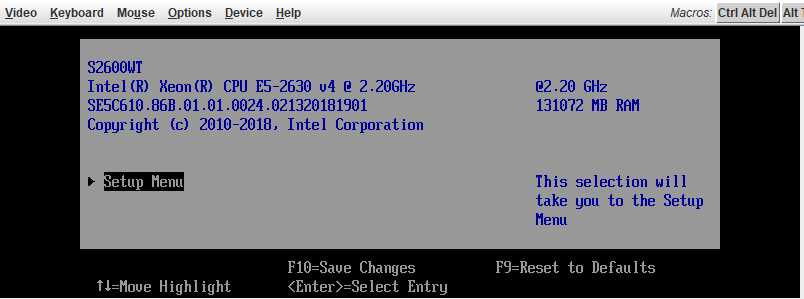
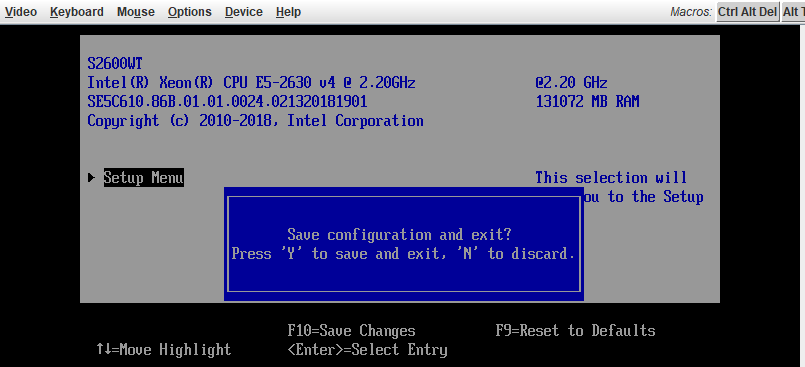
In the next screen, go to Setup Menu.
-
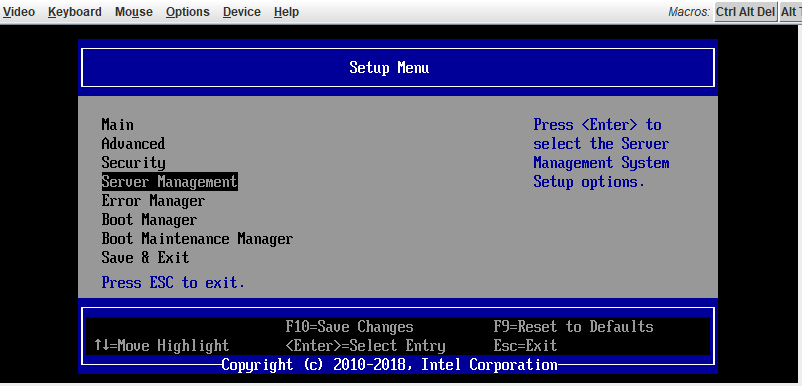
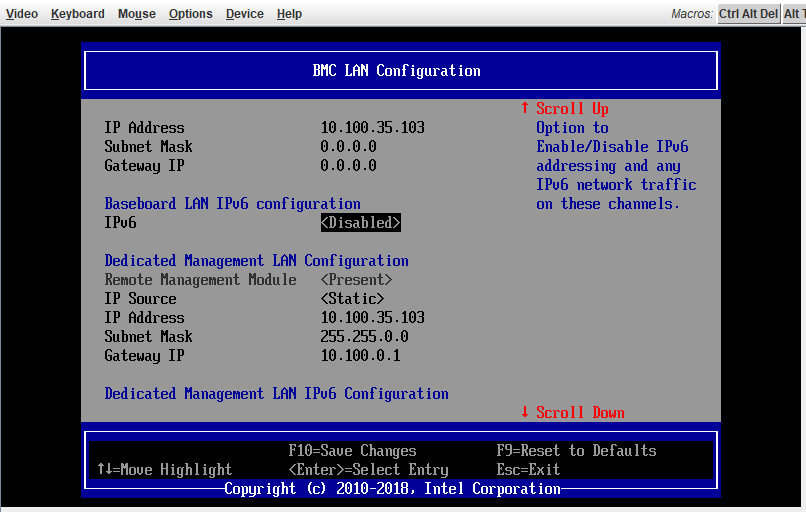
Select Server Management and enter the BMC LAN Configuration.
-
Edit the settings as required.
-
Save settings and reboot the appliance.
Configure RMM Using SSH or a Console
-
Make sure that the MGMT port for the appliance is connected to the network.
-
Configure network settings:
-
Connect the appliance using SSH or a console.
-
Set the following network settings:
ipmitool lan set 3 ipaddr <rmm_ip>
ipmitool lan set 3 netmask <subnet_netmask>
ipmitool lan set 3 defgw ipaddr <default_gateway_ip>
-
-
Verify the configuration:
ipmitool lan print 3 -
Ping the RMM IP address to confirm connectivity:
ping <RMM IP Address> -
Configure the user settings:
- Check the existing user list:
-
Create a new user or modify settings for an existing User ID.
ipmitool user set name <user_id> <username>ipmitool user set password <user_id>ipmitool channel setaccess <channel number> <user id> [callin=on|off] [ipmi=on|off] [link=on|off] [privilege=level]For example:
ipmitool user set name 3 myuseripmitool user set password 3ipmitool channel setaccess 1 3 callin=on ipmi=on link=on privilege=4 -
Enable the new user:
ipmitool user enable <user_id>
ipmitool user list 3 -
In a browser, log into the Web Interface and confirm that you can connect using the username and password defined in the previous step.
https://<RMM IP Address> -
(Optional) Login to the RMM and make additional security adjustments:
- Connect to the WebUI (
https://<ip_address>) and login with the created user. -
In the WebUI, go to Configuration > Users:
- Disable the
rootandanonymoususers. - Delete any other users.
- Disable the
- If you want to change the SSL certificate for the server, go to Configuration > SSL and upload the certificate file.
- If you want to force all connections to the RMM to use HTTPS, go to Configuration > Login and enable Force HTTPS.
If you are unable to connect to login to the user interface, see Troubleshooting Appliances. - Connect to the WebUI (
Now you can securely connect to the RMM to do remote administration tasks. For more about using the RMM, refer to the Intel® Remote Management Module 4 (Intel® RMM4) User Guide.
