On This Page
Monitoring Cisco ACI
Overview
TOS monitors Cisco ACI for policy revision changes.
To see which TOS features are supported for your device, review the SecureTrack Features by Vendor.
Currently, only a single APIC is supported for each ACI fabric.
Only a single IP is supported for the APIC controller. If more than one IP is used for the APIC controller, a load balancer must be deployed.
Tufin Extensions includes an extension that helps network and security teams manage and automate security policy changes to the Cisco ACI fabric using a SecureChange Workflow. With this extension, you can rapidly provision changes to the relevant EPGs (Application and External) and non-ACI assets – both on-premise and in public cloud environments. For more information, see Policy Change Automation for Cisco ACI.
Add a Device
-
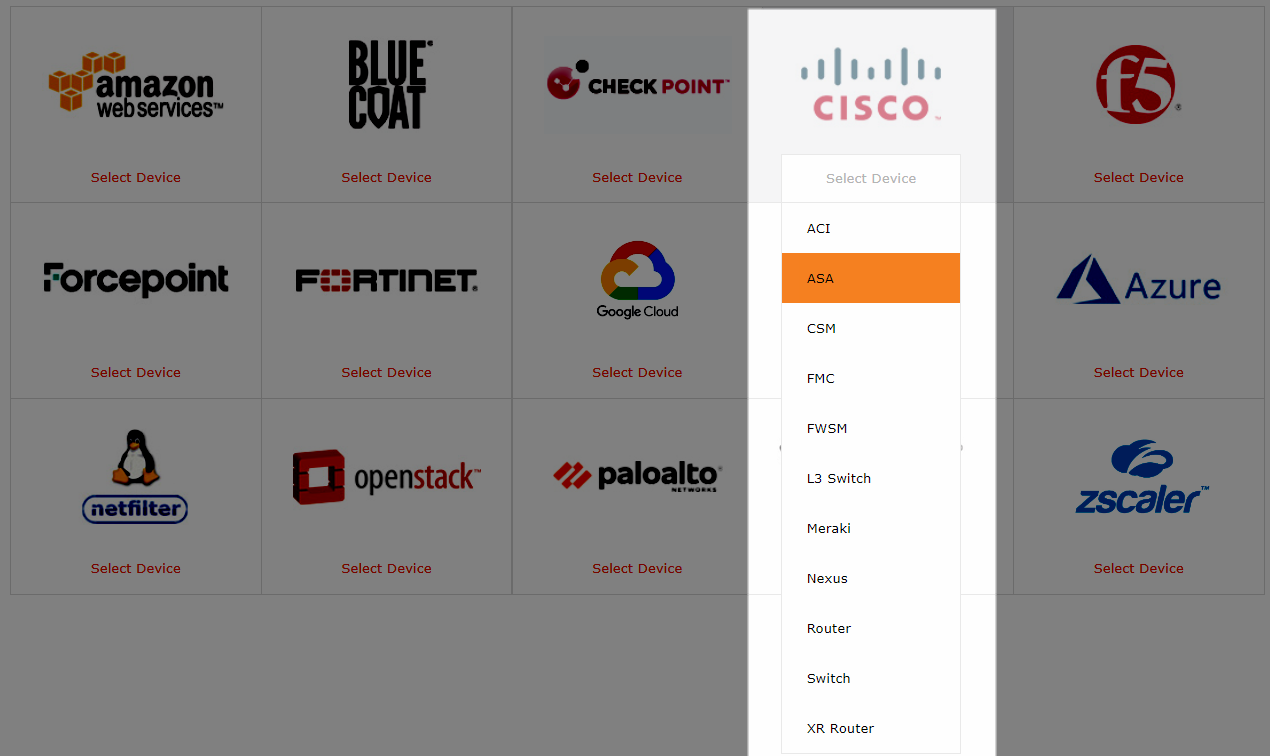
Select Cisco > ACI.
-
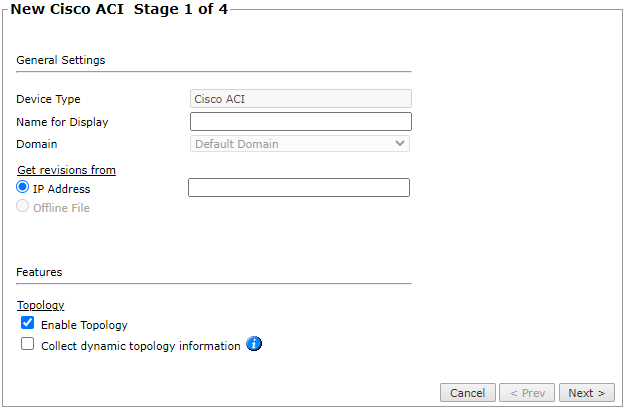
Configure the device settings:
-
General Settings
-
Name for Display
-
-
Get revisions from
-
IP address - Enter the IP address of the APIC controller
-
Offline File - Enter the file location
-
-
Topology - Click to enable Topology mode
-
-
Click Next
-
Configure the TOS connection to the Cisco ACI device, according to the parameters required by the device and click Next to continue to the next stage:
-
Enter the authentication details needed to connect to the Cisco APIC device. The user must have Read (Read Only, or Read/Write) permissions for all information on the Cisco ACI device.
-
Click Establish Connection to setup encrypted communication between TOS and the Cisco ACI device.
-
-
Click Next
-
In Monitoring Settings, do one of the following:
- To use timing settings from the Timing page, select Default.
Otherwise, select Custom and configure the monitoring mode and settings.
-
Periodic Polling, select Custom settings and configure the Polling frequency: How often TOS fetches the configuration from each device.
If you select 1 day, you can then select the exact time (hour and minute) for the daily polling.
-
Click Next.
-
Click Save.
The device now appears in the Monitored Devices tree.
-
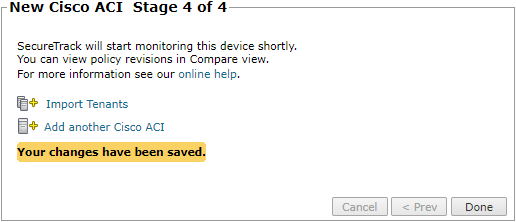
To continue, select Import Tenants or Add another Cisco ACI
Configure a Monitored Device
After you add a device, further configuration options are available.
Options vary depending on your environment.
-
Edit configuration
-
Delete this device
Import Tenants
-
Select all the managed devices to be added,
-
Click Import.
-
Click Done.
How Do I Get Here?
SecureTrack > Monitoring ![]() > Manage Devices
> Manage Devices
Was this helpful?
Thank you!
We’d love your feedback
We really appreciate your feedback
Send this page to a colleague


