On This Page
Connecting to a Mail Server
For SecureChange
To enable automatic email notifications:
- Get the server and authentication information for your organizational SMTP server.
-
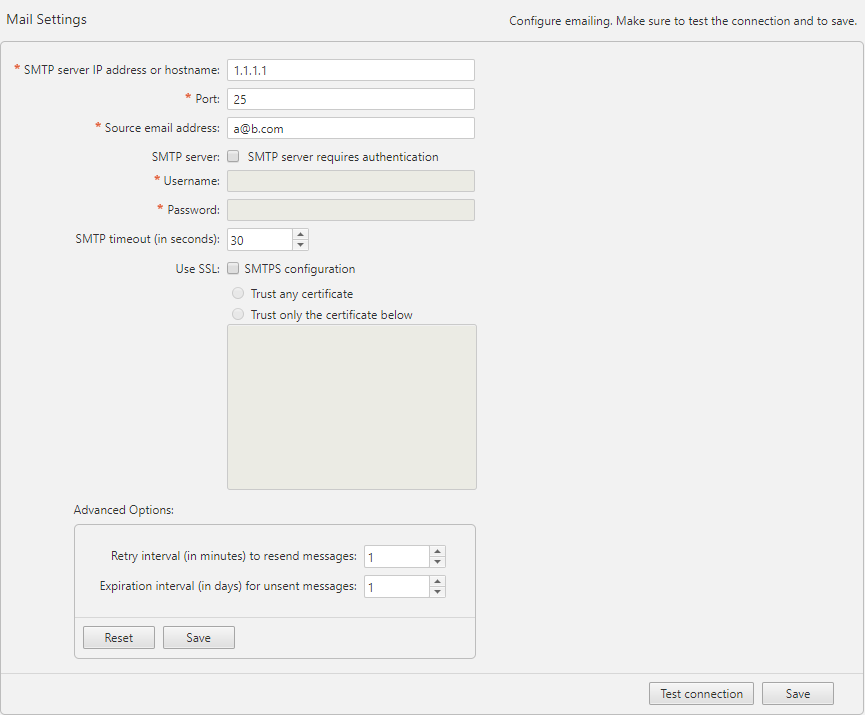
Go to Settings > Mail:
-
Enter SMTP information for:
- SMTP Server: SecureTrack can send email notifications and alerts directly (using its SMTP engine), or act as an email client, and send emails to an organizational SMTP server. In order to send emails to an SMTP server, configure its IP address in this option. The default setting for the SMTP Mail Server is localhost, which sends emails directly.
- SMTP Port: The port used by your SMTP server.
- Source Email Address: The email address chosen by SecureTrack in the SMTP email messages sent (for example: [email protected]). This can be used for easy identifications of email messages coming from SecureTrack.
- SMTP server requires authentication: Select this if your SMTP server requires authentication for sending email, and type the username and password that will be used by SecureTrack to communicate with the SMTP server.
-
SMTP timeout (in seconds)configure a timeout between 1-300 seconds to connect to the SMTP server and for sending email. The default for SMTP timeout is 30 seconds.
For example, if you configure the timeout to 30 seconds, the total timeout will be up to 60 seconds: 30 seconds for the first connection to the mail server to succeed + 30 seconds timeout when sending email.
-
Enable SMTP over SSL: Select if your SMTP requires certificate encryption when sending and receiving emails. If you require encryption then select to trust all certificates or list specified certificates.
For non-TufinOS setups, the option Trust only the certificate below requires PHP version 5.6 or above.
- Click Save.
A confirmation message is displayed.
You can also set:
- Retry interval (in minutes) to resend messages: How long a failed message waits until SecureChange
- Expiration interval (in days) for unsent messages: How many days SecureChange
