On this page
TOS Monitoring
Overview
TOS continuously monitors events and system status such as CPU/disk usage, backup initiation and node failure.
Notifications can be defined as needed by the administrator when certain conditions occur e.g. CPU rises beyond at certain percent. Some of these even sends a notification when the event first occurs, and again every 24 hours until the issue is resolved. There is an option to receive a notification when the metric goes back below the threshold and the system returns to normal.
Notifications are supported for both central and remote collector clusters. Notification recipients can include selected SecureTrack users, other email address, SIM/SIEM, and/or to one or more notification servers of type syslog, SNMPv2 or SNMPv3 (requires additional configuration).
You can also monitor TOS using third-party tools with the help of the TOS MIB file - see Using SNMP get/walk in TOS Cluster Monitoring.
There are two default notifications:
-
DB Status Alert: Monitors database status and sends an alert to the recipients configured in the notification when a database goes offline.
-
Partition usage alert: Monitors the available storage in the /opt and /var directories. When a directory becomes more than 80% full an alert is sent out to the recipients configured in the notification.
Default notifications cannot be deleted, however they can be edited and disabled.
After an upgrade, the default alerts will be sent to all existing TOS administrator users.
After a clean install, the default alerts are sent to the TOS administrator user created when the system is installed. This user does not have an email address. Create notification servers (see below) or TOS administrator users, and add them as recipients to the default notifications.
Notifications for MongoDB database will not be sent until the database is back running correctly.
Sample Syslog output
Facility user (1), Severity alert (1)
Msg: May 22 16:31:21 monitor-tower-service-649778dc6b-jw2zp -: TOS Monitoring Notification\0x0a\0x0a-----------------------\0x0a\0x0aNotification Name: te\0x0aNotification Metric: Partition Filesystem Usage\0x0aGenerated on: 2024-05-22T13:31:21.158Z\0x0aTime of Occurrence: 2024-05-22T13:31:16.092Z\0x0aCluster Name: Centr\0x0aNode Name: tufin\0x0aPartition Name: /dev/mapper/VolGroup01-LogVol01\0x0aPartition Filesystem Usage: 3\0x0aNotification Status: firing\0x0aNotification Threshold: 1\0x0aNotification Severity: critical\0x0aNotification Description: \0x0a
What can I do here?
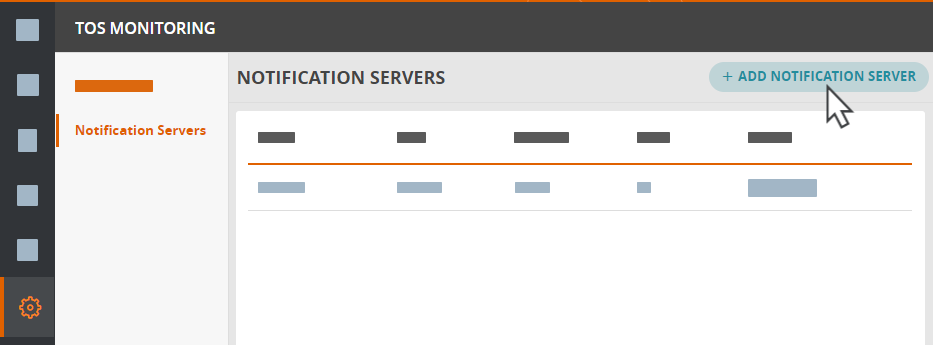
Add a notification server
-
Select Notification Servers > Add Notification Server.
-
Enter the following information:
-
Name: The name for the server that will be displayed on the Notifications Window.
-
Type: Select the server type - Syslog, SNMPv2, or SNMPv3.
SNMP servers will need the TOS MIB file in the appropriate location (on Linux servers, typically /usr/local/share/snmp/mibs or /usr/share/snmp/mibs). This file supports SNMPv2 and SNMPv3.
If you select SNMPv3, you must also configure the SNMPv3 parameters.
-
Address: The IP Address or FQDN of the server.
-
Port: The server port (UDP only)
-
Community: The community, this option is only available for SNMP.

-
- Click Create.
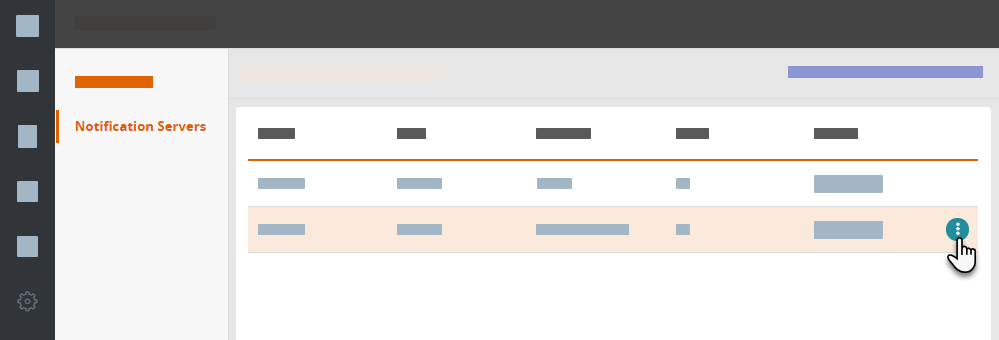
Once you have added the server, you can modify, delete, or disable the server using the ![]() button next to the name of the server.
button next to the name of the server.
Add a notification
-
Select Notifications > Add Notification.

-
Enter the following information:
-
Name: The name for the notification that will be displayed on the Notifications Window.
-
Metric: The metric that will be monitored, select one of the following:
-
Node CPU Usage
-
Node Memory Usage
-
Partition File system Usage (disk usage)
-
Database Status
-
Deployment Status. For information on specific alerts, see Deployment status alerts.
If you want to change the metric after you have created the notification, you must delete and create a new one.
-
-
Threshold: Whether the threshold should be a minimum or maximum value and the threshold percent value.
The Threshold field is not relevant for the Deployment Status metric.
-
Severity trigger: Whether this notification should be designated as Critical, High, Medium, or Low.
-
Trigger after: The number of seconds to wait before a notification is sent. This is useful to prevent unnecessary triggers, for example if a regular process uses a lot of memory for a few seconds, you would not want a trigger to be generated every time the process runs. The trigger must be between 180 and 3600 seconds. the default is 300 seconds (5 minutes).
-
Notify on return to normal: Select this option to have a second notification sent when the metric goes back below the threshold level, or a failure status has been rectified.

-
-
If you want to send the notification to one or more notification servers, click the Notification Servers area and start typing the server name, then select from the list to add. Repeat if desired for additional servers.
-
Mandatory. Enter the recipients of the notification email.
-
User Admin is added by default to SecureTrack Users. Delete if not required.
-
To send the notification to a SecureTrack user, start typing the user name in the SecureTrack Users area and select as needed. Repeat as necessary.
-
To send the notification to other email addresses, click the Other Recipients area and enter the required email address. Repeat as necessary.
To send alerts via email, the SMTP mail server needs to be configured, see Configuring Servers (SMTP and Syslog).
-
-
Click Create.
Once you have created the notification, you can modify, delete, or disable the notification using the ![]() button next to the name of the notification.
button next to the name of the notification.
Deployment status alerts
The Deployment Status metric sends the following alerts.
| Alert | Description |
|---|---|
| HighAvailability | The High Availability status is not OK. The status can be viewed by running the tos status command. |
| K3SCertificateExpiration | The K3S certificate will expire in less than 90 days |
| ServicesStatus | At least one core service is not healthy. |
| BackupStatus | The Backup Storage status is not OK. The status can be viewed by running the tos status command. |
| CheckersStatus | The cluster-manager service triggers this alert when the database, or any Kubernetes resources are not healthy. |
How do I get here?
SecureTrack > Admin ![]() > TOS Monitoring.
> TOS Monitoring.
Was this helpful?
Thank you!
We’d love your feedback
We really appreciate your feedback
Send this page to a colleague