On This Page
Assigning Permissions to the App Registration
Overview
To monitor an Azure Resource Group, TOS must have permission to access it. Grant the necessary permissions by creating a custom role for the Resource Group and configuring that role with your SecureTrack app registration.
You must perform this procedure for each Resource Group that you want to add to SecureTrack.
Create a Custom TOS Role in Azure
-
Log in to your Azure Account through the Azure portal.
- Select the Resource Group you wish to be monitored by TOS.
-
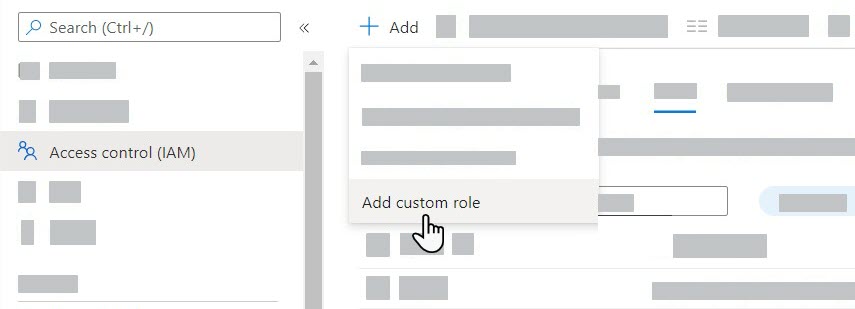
Go to the Access Control page, and click Add > Add Custom Role.

The Custom Role Editor appears.

-
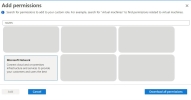
In the Basics tab, fill out the following information:
-
Custom role name and Description: Enter a name and description for the custom role.
- Baseline Permissions: Select Clone a role.
- Role to clone: Select Reader.
-
-
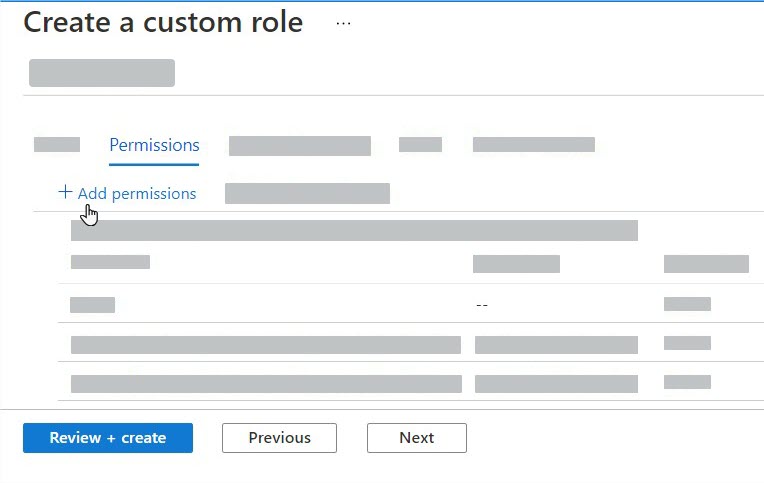
Click Next to move to the Permissions tab.
- Click Add Permissions.
-
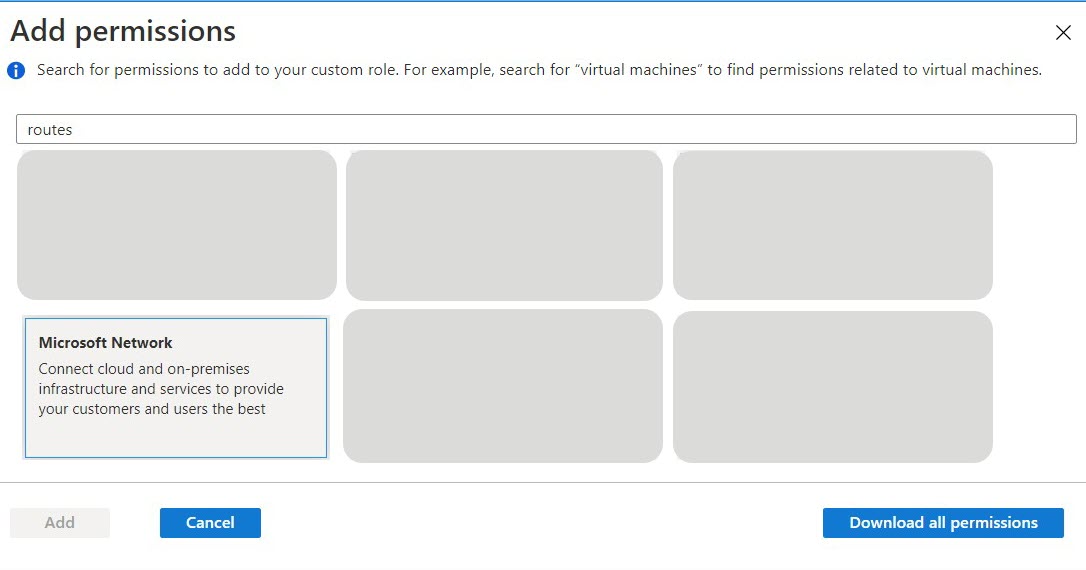
Search for Microsoft Network.
-
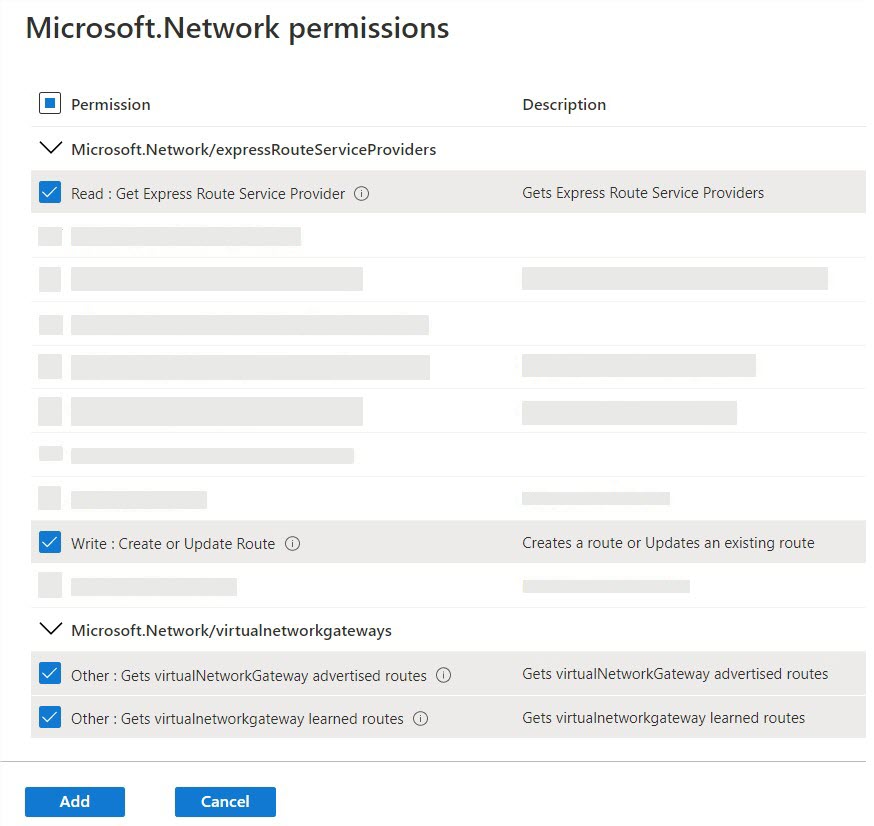
Click the Microsoft Network tile, and select the following permissions:
-
Read: Get Express Route Service Provider
-
Write: Create or Update Route
-
Other: Gets virtualNetworkGateway advertised routes
-
Other: Gets virtualnetworkgateway learned routes
TOS does not create or update routes in Azure. The Write permissions are required to use the Azure REST API, which uses the POST method to retrieve routing tables. This information is required by TOS for topology mapping and network troubleshooting.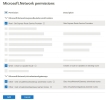
-
-
Click Add.
-
Create the custom role by clicking Review+Create.
-
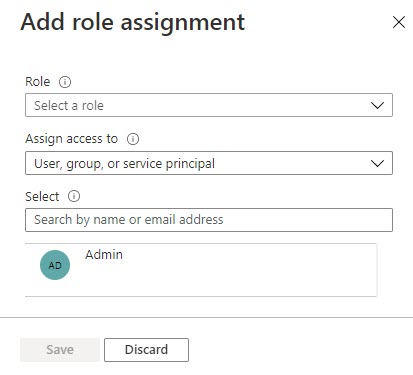
In the Access Control page, click Add > Add Role Assignment.
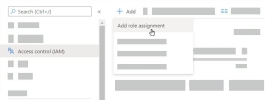
- In the Role field, select the role you created.
- In the Select field, select the SecureTrack App registration.
- Click Save.
- Repeat for each Resource Group you would like TOS to monitor.

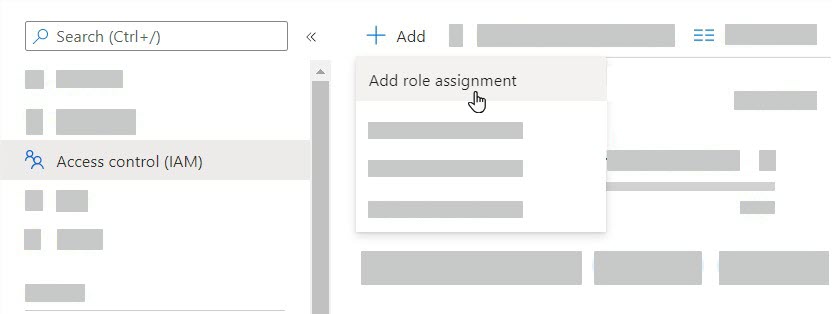
The Add Role Assignment pane appears.
Was this helpful?
Thank you!
We’d love your feedback
We really appreciate your feedback
Send this page to a colleague