On this page
Creating SecureChange Tickets
Overview
After you build the connections that your application needs, create a SecureChange ticket to request that those connections be allowed. The details of the connections appear in the Access Request fields of the ticket automatically. You can enter additional information to the ticket and submit the ticket.
- If you create a ticket after you change the source, destination, or service of a connection, the ticket includes "Drop" access requests for the traffic that is no longer included in the connection and "Accept" access requests for the traffic that is included in the new connection.
- If you edit the IP address of a resource or a member of a resource group, you can save the change and open a ticket to update the firewall rules that use the resource. The ticket includes "Drop" access requests for the connections that use the old details of the resource and "Accept" access requests for the same connections with the new details of the resource.
- If you delete a connection, the ticket includes "Drop" access requests for the traffic that was included in the connection.
You can only create a ticket with a "Drop" access request if the access is not also required by other connections in SecureApp. If you try to create a "Drop" access request for access this is in use, SecureApp shows you the connections that use the access.
Create a ticket in SecureChange
-
Build the connections that your application requires.
-
Click Create Ticket.
The New Request dialog box appears.
-
Select from the list a SecureChange workflow to use for the request.
-
Only workflows that have Access Request fields appear.
-
SecureApp highlights the workflow that you selected the last time you created a ticket.
-
If you do not want the ticket to go through the workflow process, you can select Create a closed ticket. This can be useful so that:
-
You have a SecureChange ticket for connections that are already configured in the devices so that auditors can see the access request in the ticketing system.
-
The next ticket created from the connection does not include any previous changes.
When you create a closed ticket, revisions that match the ticket are listed in the Change browser in SecureChange as unauthorized because they do not pass through an approval step in SecureChange.
-
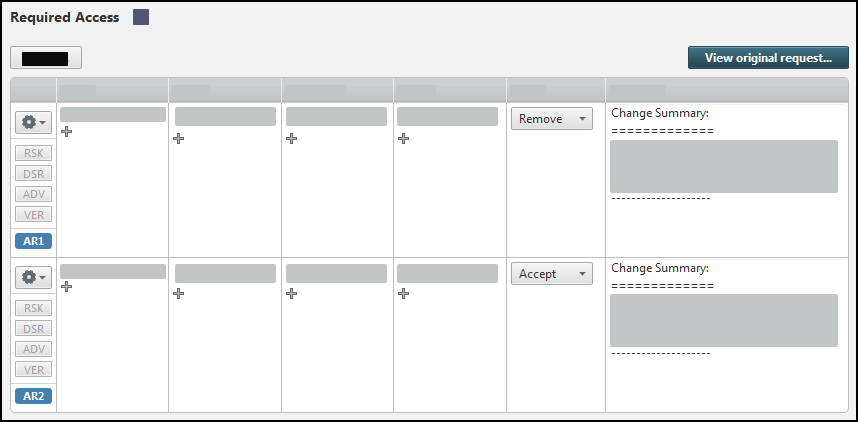
The new request is shown with the details of the connections changes already entered into the Access Request field and comments that show the actions in SecureApp that created the access request. Click View original request to see the connections as they are shown in SecureApp.
-
-
Edit the request information.
If your Source Field contains a user identity group, see the section Behavior for LDAP Objects in the Source Field.
To see the context of the ticket, you can click Original Application Change to see the ticket as it was when it was submitted from SecureApp.
This can be very helpful because while viewing the technicalities of what needs to be done in the task view, it can be difficult to understand the actual goal of the task. When you view the SecureApp ticket you see the request as it was sent.

-
Click Submit.
The SecureChange request continues through the selected workflow. In SecureApp, the application and connections have a ticket icon to show that there are open tickets for them. You can:
- Click
 to see the list of open tickets.
 - Click an open ticket to go to that ticket in SecureChange.
The SecureChange ticket shows a link to the associated application in SecureApp.
- If the ticket icon is marked with a rejection
 , at least one of the tickets for the connection was rejected and requires action.
Behavior of LDAP user groups
If the Source field of your connection contains an LDAP user identity group or a <user> from <network>, the connection's entire Source field becomes locked for editing after the first ticket on this connection is submitted. To modify the connection's locked source field, we recommend duplicating the connection, deleting the original connection, then updating the new one. There are no restrictions on changing the connection's Service or Destination fields.
Additionally, we do not recommend adding virtual servers to the Source field of a connection that contains an LDAP object. Once the Source field becomes read-only, any updates made to the virtual server on the device will not be reflected in SecureApp.
How do I get here?
SecureApp > Applications
Was this helpful?
Thank you!
We’d love your feedback
We really appreciate your feedback
Send this page to a colleague