On this page
RMM for T-800 / T-1200 Gen 4 Appliances
Overview
The remote management module (RMM) or management port in Tufin appliances lets you connect to an administration web interface for the appliance. You can configure RMM network settings using BIOS or using SSH or a Console
Prerequisites
The following ports must be open between the appliance and the TufinOS installation host:
|
Use |
Port |
|---|---|
| HTTP | 80 (TCP) |
| HTTPS | 443 (TCP) |
|
IPMI Virtual media |
623 (UDP/TCP) |
|
Remote console |
5900, 5901 (TCP) |
|
SSH |
22 (TCP) |
|
WS-MAN |
5985 (TCP) |
Configure RMM network using BIOS
-
Reboot or start the appliance and press DEL to enter BIOS setup.
-
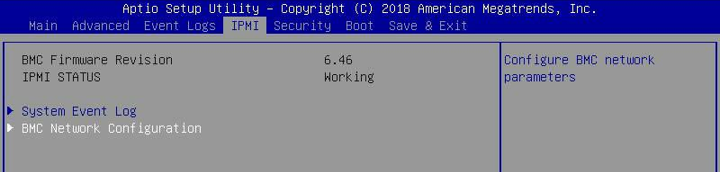
Select IPMI > BMC Network Configuration.
-
Set Update IPMI LAN Configuration to YES.
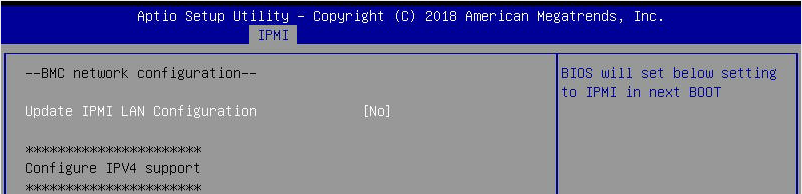
- Edit the settings as required.
-
Set Update IPMI LAN Configuration back to No.
-
Save settings and reboot the appliance.

Configure RMM using SSH or a console
-
Make sure that the MGMT port for the appliance is connected to the network.
-
Connect the appliance via SSH or a console and set the following network settings:
-
Verify the configuration:
-
Ping the RMM IP address to confirm connectivity:
-
Configure the user settings:
-
Check the existing user list:
-
Create or modify users. This command will create a new user or overwrite settings for an existing User ID.
[<ADMIN> ~]# ipmitool user set name <user_id> <username>ipmitool user set name <user_id> <username>[<ADMIN> ~]# ipmitool channel setaccess <channel number> <user id> [callin=on|off] [ipmi=on|off] [link=on|off] [privilege=level]ipmitool channel setaccess <channel number> <user id> [callin=on|off] [ipmi=on|off] [link=on|off] [privilege=level]For example:
ipmitool user set name 3 myuser
ipmitool user set password 3
ipmitool channel setaccess 1 3 callin=on ipmi=on link=on privilege=4 -
Enable the new user:
-
-
In a browser, log into the web interface and confirm that you can connect using the username and password defined in the previous step.
Now you can securely connect to the RMM to do remote administration tasks.
For complete IPMI documentation, see the IPMI Users Guide (PDF)
Was this helpful?
Thank you!
We’d love your feedback
We really appreciate your feedback
Send this page to a colleague