On this page
Creating and Managing Custom Groups for Viewing Devices
Overview
You can create custom groups of devices to be displayed on the Map. This can be useful when you want to view together all devices deployed in specific sites, or if you want to group devices according to team. With custom groups, you have the flexibility to organize the devices in the Map in any way you like.
Create a custom group of devices
-
In the Map > View By filter, click
 and select, Add New Custom Group.
The Add New Custom Group dialog box appears.
-
Enter a Group name and optional Description.
-
To add devices according to device name, in the Members section:
-
Select Select by member name, and click one of the following options:
-
Starts with: The device name starts with a certain string
-
Contains: The device name contains a certain string
-
-
In the Enter value field, enter the relevant string.
-
To add more devices to the group according to name, click +Add more members by name, and repeat steps a-b.
-
-
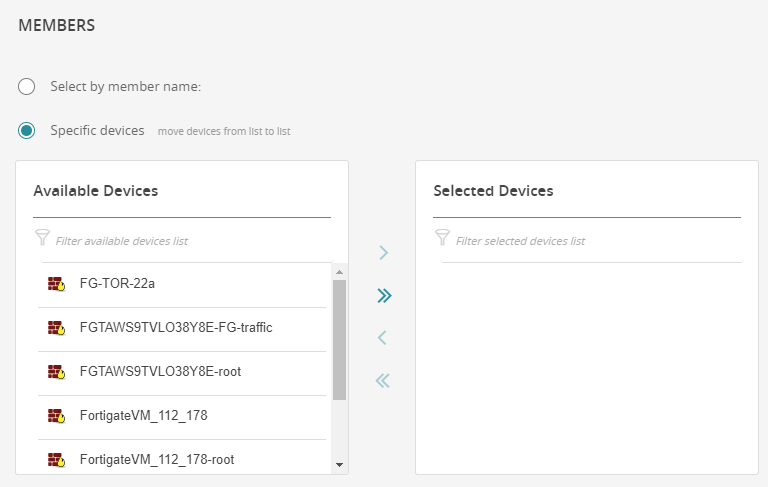
To add specific devices to the group, in the Members section:
-
Select Specific Devices.
-
Move the relevant devices to the Selected Devices column.
The devices in each column can be filtered.
-
-
Click Save.
The group is now displayed in the Map when viewing by Custom View.

Manage the custom groups of devices
-
In the Map > View By filter, click
and select, Manage custom view.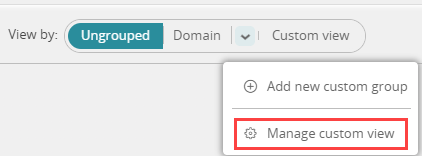
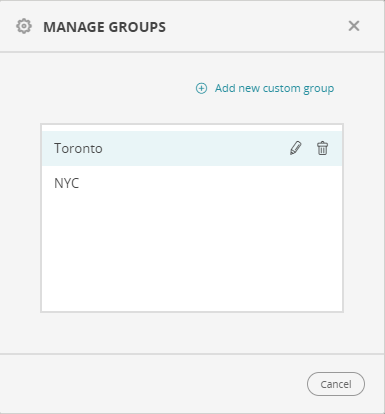
The Manage Groups dialog box appears.
-
Perform one of the following actions:
-
Add new group: Click the +Add new custom group link and follow previous procedure.
-
Edit group: Select a group, and click
 .
. -
Remove group: Select a group, and click
 .
.
-
How do I get here?
SecureTrack > Map ![]()
Was this helpful?
Thank you!
We’d love your feedback
We really appreciate your feedback
Send this page to a colleague