On This Page
Decommissioning Servers in SecureApp
Overview
When you decommission a server, you can see the details of where the server is used. You can replace the server or move the server to another application in order to mitigate the impact of decommissioning the server. This process makes sure that all defined connectivity is maintained after the server is decommissioned and removed from the firewall rules.
Decommission a Server
-
In an Application's Resources pane, select the server from the Servers list.
-
Click
 to open the delete menu and select Decommission.
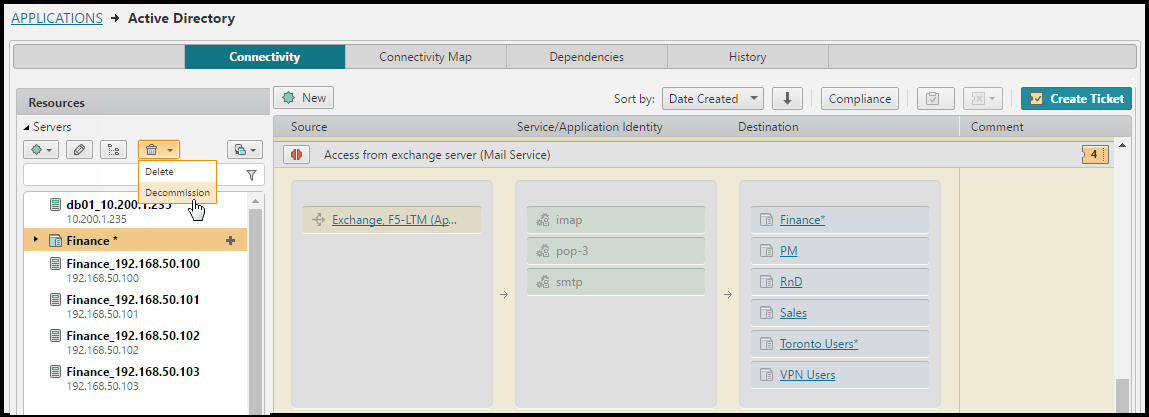
-
Review the list of applications that use the selected server.
You can click
 (Export) to export a list of the dependencies in CSV format, including: affected connections, depended servers, depended groups, affected interfaces
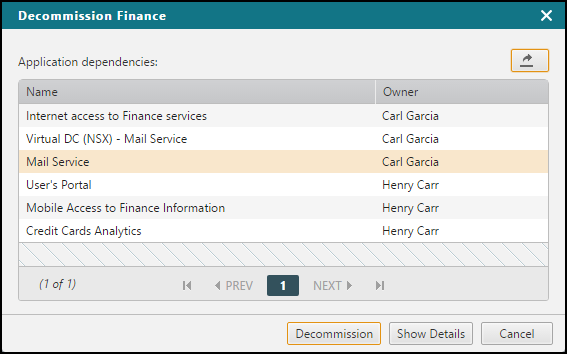 When exporting to a CSV file, or XSLX file, if a special character ( = - + @ ) appears at the beginning of any field, a single quote (') is automatically added before the character.
 -
Click Show Details to see the list of connections and interfaces that use the selected server.
-
To filter the connections and interfaces by application, select the application from the list of applications.
-
To move the selected server to another application, click Move server and select the application to move the server to. After you move the server, the list of connections and interfaces that use the selected server is updated.
-
To replace the server in all connections with another server or server group, click Replace server and select a server from another application to replace the selected server. After you replace the server, the list of connections and interfaces that use the selected server is updated.
-
-
To remove the server from the connections and interfaces, click Decommission.

How Do I Get Here?
SecureApp > Applications
Was this helpful?
Thank you!
We’d love your feedback
We really appreciate your feedback
Send this page to a colleague