On This Page
Adding Workflow Integrations
Overview
Only SecureChange users with the permission Create and handle tickets on behalf of another user (via API only) can add workflow integrations.
After you connect the third-party vulnerability management tools, in the Scanners ( ) menu, you can add integrations to SecureChange Access Request Workflows. For each integration, you define the integration point in which SecureChange should run the app script, and which information should be retrieved by the app.
Workflow integrations include an Active Scan setting, which can be toggled on or off:
-
Toggled off (default): The app retrieves the latest historical risk analysis results from the vulnerability management tool.
-
Toggled on: The app performs a new risk-analysis scan (which can be scheduled) in the vulnerability management tool for the IP addresses in the Source and Destination fields in the ticket.
After the Workflow Integration is created, when the SecureChange workflow reaches the integration point, SecureChange runs a script, which does the following:
-
The script either retrieves the vulnerability historical data or starts a new scan in the vulnerability management tool.
-
After the vulnerability data is retrieved, the script automatically advances the workflow to the next step.
-
If the Risk Analysis step is automatic, when the workflow reaches this step, the script will generate a report with the data that was previously retrieved. This report is sent back to Vulnerability-based Change Automation App(VCA).
Prerequisites
In the SecureChange Access Request Workflow:
-
Add a dedicated step for syncing/scanning the third-party vulnerability management tool. VCA fully manages the step and will advance the ticket when it finishes reading all the vulnerabilities. This step must be before the Risk Analysis step.
This step can be Self-Assigned or Auto-Assigned, but must be assigned to the user defined in VCA. -
Add a Risk Analysis step (automatic or manual) after the dedicated step.
Add a Workflow Integration
-
Go to the Workflows (
 ) menu.
 -
Click Add new workflow integration.
-
If you want the app to scan the vulnerability management tool, toggle the Active Scan switch.
- Configure the workflow integration:
- Click Save.
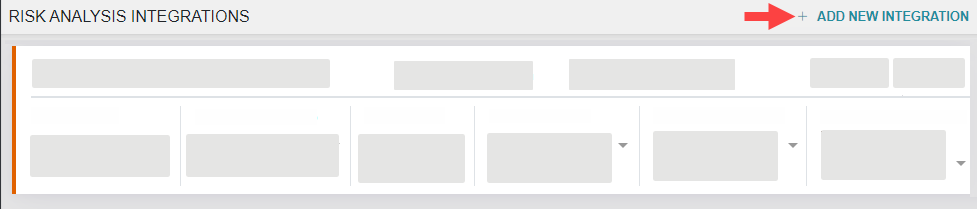
A new workflow integration is added to the page.

|
Setting |
Description |
|---|---|
| Workflow | Select the Access Request Workflow you created for the integration. |
| Workflow Step | Select the step you defined for syncing/scanning with the third-party vulnerability management tool. |
| Risk Threshold | Select the lowest risk severity you want to retrieve from the vulnerability management tool. |
| E-mail notification | Optional. Select the user who will receive an e-mail notification if the sync/scan fails to complete successfully. The users that can be selected are the Ticket Requester and the Ticket Handler. |
|
Scanner |
Select a vulnerability management tool. Only tools configured in the app will appear in the drop-down list. |
|
Scan Name |
Select the scan from which the app should retrieve historical data. This setting is only displayed when Active Scan is toggled off. |
|
Active Scan toggled on |
|
|
Allowed networks |
Click this setting to open a dialog box in which you can define the network (IPv4 and CIDR) that will be scanned by the vulnerability management tool. |
|
Schedule Scan (optional) |
Enter the time in which the app will perform the scan. |
|
Scan Template |
Select a scan template for the Risk Analysis scan. A scan template is a set of predefined attributes that can be immediately applied to the scan, such as target assets, services, and vulnerabilities. Selecting a scan template removes the need for manually customizing these properties in the vulnerability management tool. |
|
Scan engine |
Select the scan engine that will perform the scan in the vulnerability management solution. Scan engines are configured in the vulnerability management tool. |
