On This Page
Installing and Logging in to VCA
Before Installation
-
Confirm that you have either a Google Chrome or Mozilla Firefox internet browser.
-
Extensions applications may require additional hardware and resources, depending on utilization. Consider expanding your resources if heavy use of the application is intended.
-
If you are not using Tufin OS, we recommend that you open a support ticket for a walkthrough before installing an Extension application for the first time. Note the initial setup for all Extensions applications is the same.
Install Process
These instructions apply if you are:
-
Installing VCA for the first time.
-
Upgrading VCA.
Retrieve Installation File
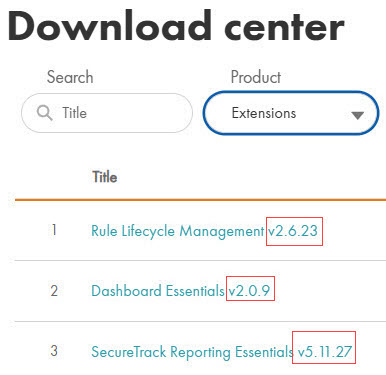
You can download all Extensions application files, either locally or downloaded to a relevant server, from the Customer Portal Download Center.
-
From the Download Center, select the Extension to download.
-
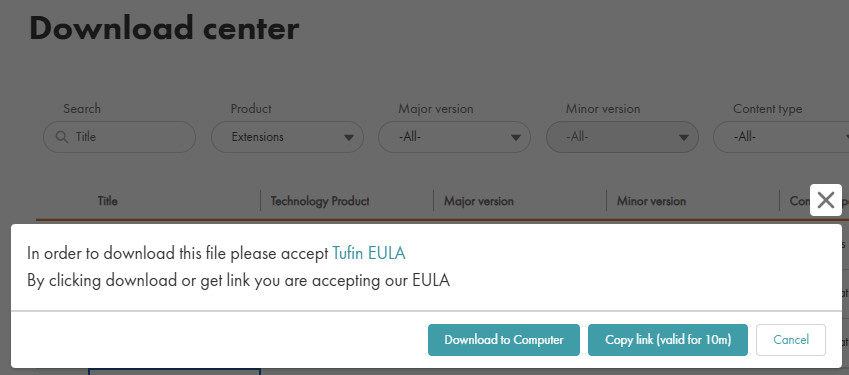
Select the method for downloading the installation package: Download to Computer or Copy link (valid for 10m). Using the link requires the server to have access to download from https://tosportaldownloads.tufin.com.
-
If you downloaded the package, upload it from your local computer to the primary data node to the directory c:/opt. Upload the file as is; do not extract it first.
-
If you copied the link, run the following command. If the link has expired, get a new link from the Download Center.
where
Procedure
-
Using SSH, log into the TOS server.
-
Create a directory called
/opt/extensions. -
Copy the installer run file (already downloaded) to
/opt/extensions. -
Go to
/opt/extensions. -
Run the command:
# sh vca-v<VERSION>.k3s.run
VCA is installed in the TOS cluster on the data node.
A license is required if you are running R23-1 or earlier, or you have a legacy (non-tiered) TOS license - see Installing a License.
Troubleshooting Installation
|
Error Message |
Next Steps |
|---|---|
| Error: TOS isn't running | If you receive this message while trying to install an Extension and you are not using Tufin OS, the issue may be related to your OS user permissions. Please contact Tufin Support for instructions. |
Log into VCA
You can access VCA from inside SecureChange or by logging in directly. VCA integrates with SecureChange usernames.
Access VCA from SecureChange
From R23-1, use the app launcher icon ( ), select Vulnerability-based Change Automation App.
Log in to VCA Directly
- In your browser, enter the following URL:
https://<TOS_Aurora_Host>/apps/vcawhere
<TOS_Aurora_Host>is your TOS IP address. VCA uses TOS for authentication.The Login page appears.
- Enter your TOS user credentials and click Log In.


