On This Page
Monitoring Arista EOS
Overview
Arista EOS devices enabe policy visibility, rule and revision history for change tracking, and extensive topology coverage with technologies like VxLAN, MPLS, and VPN. Additional features include detection of USP violations, IPv4/IPv6 support, and automation of access requests using tools like auto-target selection, Verifier, and Designer.
Monitoring these devices through TOS will enable you to benefit from faster troubleshooting of network issues using the topology map, and allow you to quickly identify and resolve problems while minimizing downtime. You can use Arista's CloudVision Portal for device management in TOS to enhance efficiency and save time by eliminating the need to add EOS devices individually. Additionally, automated changes across Arista devices and NGFWs reduce SLA delays, prevent repeated work, and mitigate risks, ensuring a more secure and efficient network.
Prerequisites
-
Arista EOS certificates must have the device IP, host name or fully qualified domain name in the Common Name or Subject Alternative Name (SAN) fields. Self-signed certificates are allowed as long as they meet this requirement.
-
If the device uses a self-signed certificate that fails hostname verification, enable the following feature flag to allow communication:
This flag allows TOS to obtain a valid certificate and monitor Arista EOS devices with non-standard or self-signed TLS configurations.
Add a Device
-
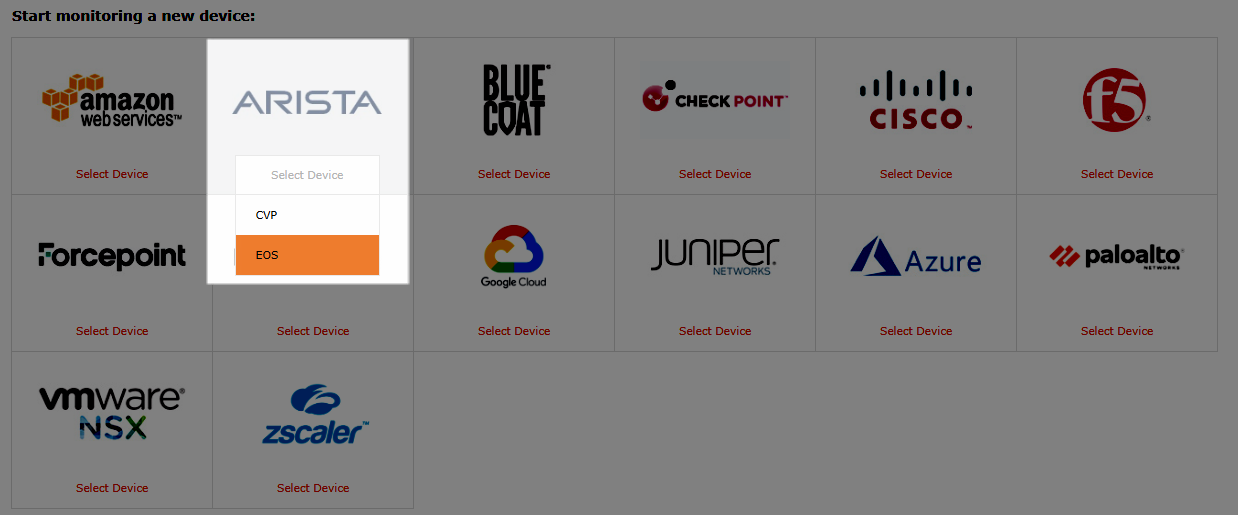
Select Arista > EOS:
-
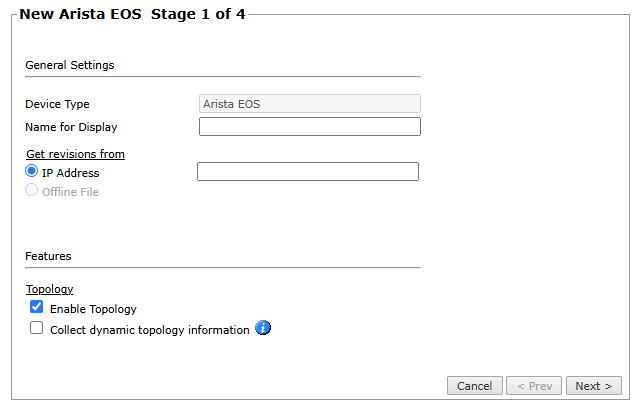
Configure the device settings:
-
Device Type: This value is preloaded as Arista EOS.
-
Name for Display: Name of the Arista EOS device.
-
Get revisions from: IP Address: Type the IP address. Revisions are retrieved automatically.
-
Enable Topology: Collects routing information for building the network Map.
Topology options for Advanced management mode are configured when you import managed devices.If the device uses dynamic addressing (such as DHCP) or dynamic routing protocols (such as OSPF), select Collect dynamic topology information also. You can specify in the next stage to retrieve the dynamic topology information using SNMP v2 or v3.
-
- Click Next.
-
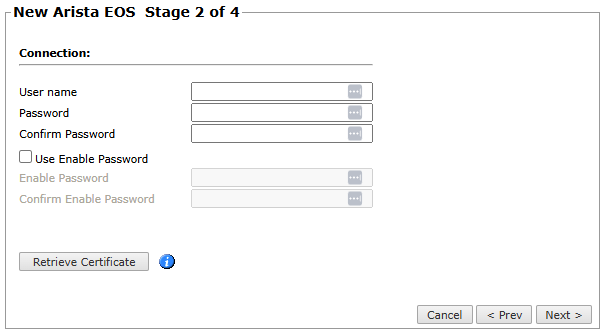
Configure the TOS connection to the Arista EOS device, according to the parameters required by the device:
-
Enter the authentication details needed to connect to the Arista EOS device. The user must have Read (Read Only, or Read/Write) permissions for all information on the Arista EOS device.
-
Click Retrieve Certificate to setup encrypted communication between TOS and the Arista EOS device.
-
- Click Next.
-
In Monitoring Settings, do one of the following:
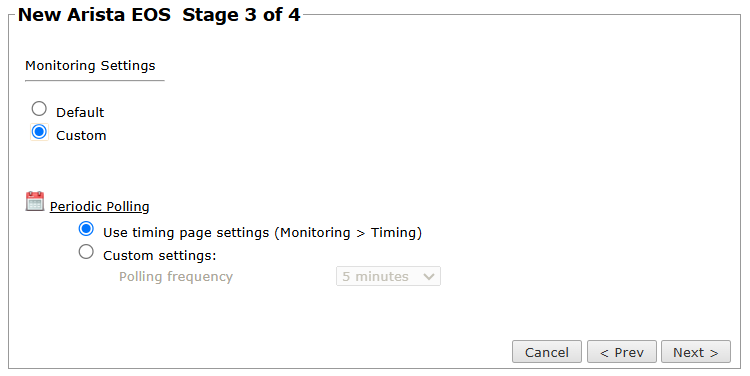
- Select Default to use real-time monitoring and timing settings from the Timing page.
Otherwise, select Custom and configure the monitoring mode and settings.
- In Periodic Polling, select Custom settings and configure the Polling frequency - the frequency at which TOS fetches the configuration from each device.
If you select 1 day, you can then select the exact time (hour and minute) for the daily polling.
- Click Next.
-
Save the configuration.

The Arista EOS now appears in the Monitored Devices list.
Configure a Monitored Device
After you add a device, further configuration options are available.
Options vary depending on your environment.
Example
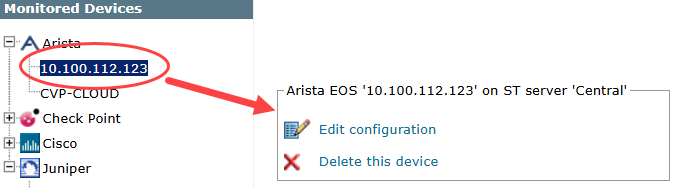
-
Edit configuration: Use the wizard to modify selected device settings. See Add a Device in this topic.
-
Delete this device: Type yes to confirm that you want to delete the device.
How Do I Get Here?
SecureTrack > Monitoring ![]() > Manage Devices
> Manage Devices