On this page
Zone Mapping
Overview
Zone mapping lets you define how USP violations are calculated for a device in the network, including:
-
Specifying whether to include the device in the violation calculation
-
Specifying the zones that are considered connected to and from the device for each device interface
-
Specifying whether to take routable zones into account
What can I see?
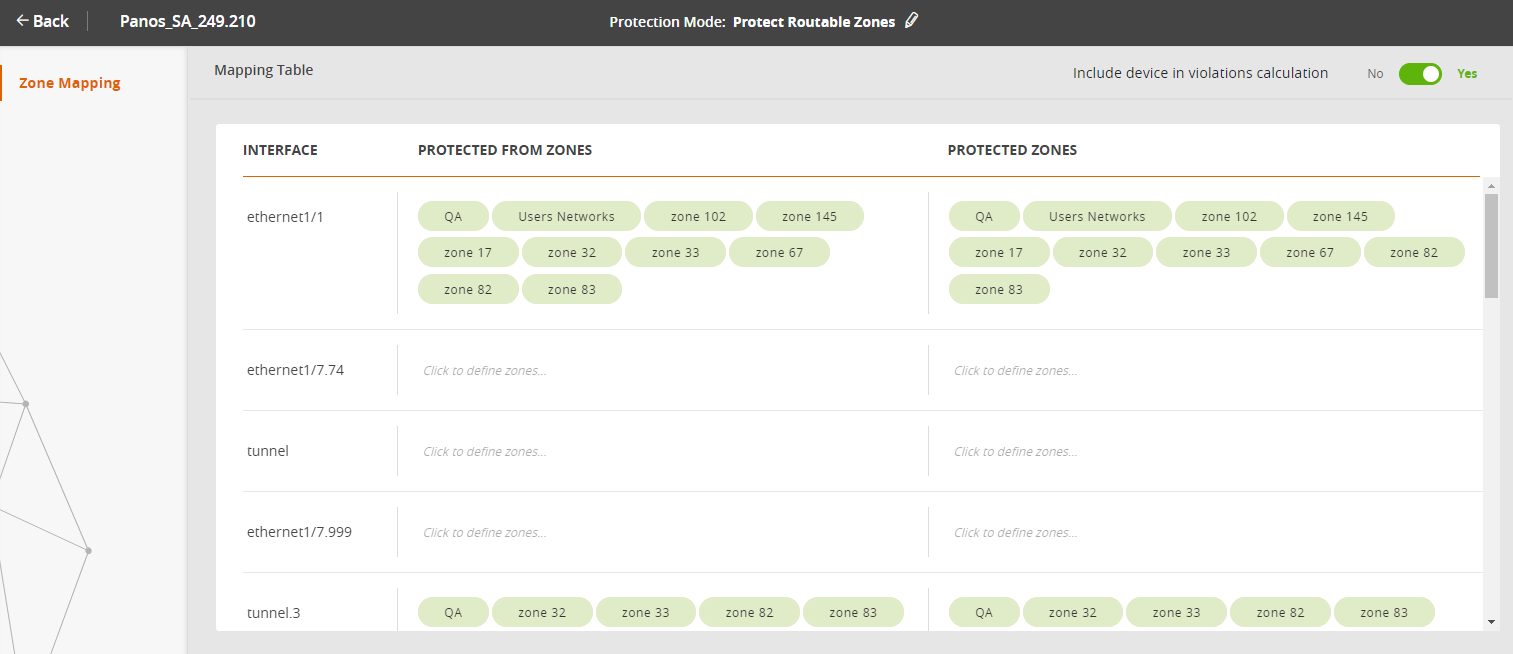
The Zone Mapping page displays the zones that will be considered connected to the device when determining violations in one or more unified security policies (USPs). The zones are listed separately for each interface in two separate groups:
- Protected From Zones: Zones from which traffic reaches the device.
- Protected Zones: Zones to which traffic is sent from the device.
The protection policy referred to above for both of these groups of zones applies only from one interface to another. A violation is never counted for routes to and from the same interface.
The zones associated with each interface are added automatically, based on their topology. For each device interface, SecureTrack finds the security zone that contains the IP address of the interface and associates that zone with the interface. In addition to the IP address match, SecureTrack also uses routing tables to associate the zones with interfaces (see Zone Mapping). Only zones used in one or more USPs will be included. The Internet zone is added automatically only when the Violation Calculation Mode is set to Connected Zones.
What can I do here?
Specify connected zones
When you select a device from the Device Viewer, the zone mapping window appears.
If you wish to add zones that don’t appear or exclude existing ones, you can do that manually.
Manually adding zones
Zones that are not added automatically based on topology can be added manually. To add a zone to an interface, click in the desired cell and then start to type the name of the zone you want to add. Auto-complete will fill in matching zone names as you type and you can select as needed. Once added, an icon indicates that the zone was added manually, e.g.![]()
To remove a manually added zone, hover over it and click X.
Excluding automatically added zones
To exclude an automatically-added zone from being mapped to the interface, hover over it and then click X. The icon color will change to grey and the text will change to strikethrough.
![]()
Include the device in violations calculation
Enable/ disable this device in violation calculations.
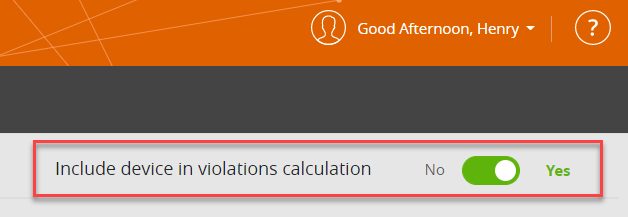
- No: Do not include this device in violation calculations .
- Yes: Include this device in violation calculations.
The default is Yes. When set to No, all other settings on this screen are ignored.
Set violation calculation mode
When traffic moves from one location to another, it can move across a number of devices and zones. When you set the violation calculation mode, you determine whether these hops should be included in the violation calculation.
You can select between two modes:
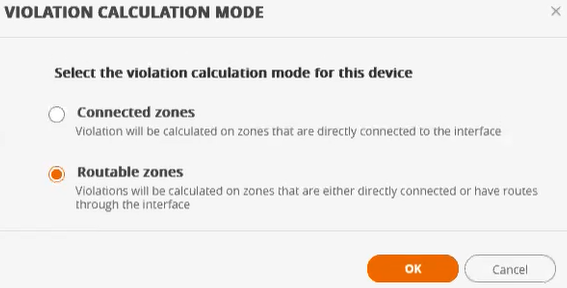
- Connected Zones: Only the zone of the directly connected device is mapped.
- Routable Zones: The zones of all devices on the route are mapped
For example, the access request that triggered a USP violation traverses the following hops between the source and destination: Source > Device1 > Device2 > Device3 > This device .
If you select Routable Zones, then all three firewalls (Device1, Device2, Device3) will be considered. If you select Connected Zones, then only the device for the final hop in the route (Device3) will be considered.
How do I get here?
SecureTrack > Monitoring ![]() > Device Viewer
> Device Viewer
Was this helpful?
Thank you!
We’d love your feedback
We really appreciate your feedback
Send this page to a colleague