On this page
Working with Requests
|
|
This topic is intended for SecureChange requesters, responsible for creating change requests in SecureChange. |
Overview
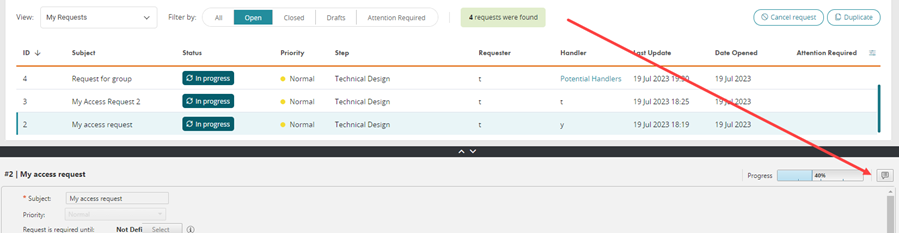
The Requests page displays a list of your open change requests. You can see an overview of each request, with details such as request priority, status, ID, subject, and step. Hover over the icons in the Priority and Status columns for further descriptions.
Before you can open a request, you must have an active workflow. For more information, see Workflows.
To use the Requests page, you must have permission to Create change requests and view 'My Requests' tab. See Configuring and Assigning User Roles.
What can I do here?

-
All
-
Open
-
Closed
-
Drafts
-
Ticket expired
-
Ticket about to expire
-
Rejected
- More information required
-
Resubmit
-
Ticket confirmation
-
Delay the expiration date
-
Open request to remove access - use a Remove Access workflow to open a new ticket with the details of the expired ticket. The expired ticket shows a link to the ticket to remove access, and the ticket to remove access shows a link to the expired ticket.
-
Acknowledge rejected tickets - Let's the requester or handler read the reason that the ticket was rejected.
-
Provide more information -The requester is asked to reply to a request for more information.
-
Resubmit the request
-
Confirm that the ticket was handled
View by group
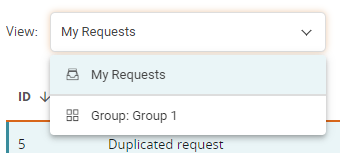
Click the drop-down arrow next to View. Your groups appear.
To see tickets assigned to a group, you must be a member of the group. In addition, the group must have the permission: Group members can perform actions on requests submitted by other members
Filter the requests displayed

Filter by:
Attention required
See Handle Tickets Where Attention is Required.
Handle tickets where attention is required
Tickets with one of the following statuses are flagged as requiring attention:
You can see the tickets with this status by filtering your tickets by Attention Required. You can also see the status of these tickets in the Attention Required column of the Requests list.
To manage an Attention Required ticket, click its status. The ticket appears at the bottom of the screen.

Depending on the ticket status, you can:
Once the reason for "Attention Required" is handled, the request no longer appears with the status Attention Required.
Create a new request
Click New Request.
Your configured workflow templates appear. Select your desired template and follow the procedure in Access Requests. To create or activate a workflow template see Workflows.
Duplicate an existing request
Select the request you want to duplicate and click Duplicate.
The duplicated request draft appears in the lower half of the screen. Use ![]() to expand/collapse the request draft.
to expand/collapse the request draft.
Cancel a request
You can cancel your own requests as well as those of members of a shared group, if the group has the permission: Group members can handle tasks assigned to other members.
Select the request you want to cancel and click Cancel Request.
The Cancel Request dialog box appears.
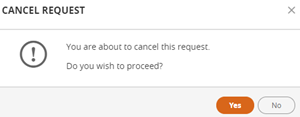
Select Yes to cancel the request.
Sort requests
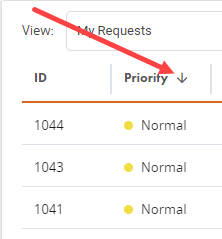
By default, the requests are sorted by ID. To sort the requests by another criteria, hover your mouse over the relevant column heading until an arrow appears. Select the arrow to sort the requests.
Customize columns
From the top right corner of the screen, select 
The column options appear.
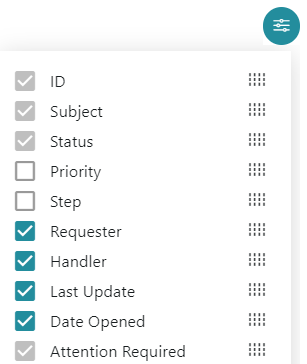
Select the columns you want to appear in the Requests display:
Column names with a gray box  cannot be removed from the table.
Use  to drag column names to change where they appear in the table.
Multi-domain environments include an option for a domain category.
Add a comment
You can add comments to assigned tasks by selecting the relevant request from the list and clicking the comment icon in the request panel.
The task assignee sees ![]() in the Comments column of their Tickets page. See Tickets for more information.
in the Comments column of their Tickets page. See Tickets for more information.
How do I get here?
SecureChange > ![]() Requests
Requests
Was this helpful?
Thank you!
We’d love your feedback
We really appreciate your feedback
Send this page to a colleague