On this page
Viewing Your Assigned Tickets
|
|
This KC page is intended for SecureChange handlers who are responsible for processing change requests. |
Overview
The Tickets table in SecureChange provides a view of all tickets assigned to you or the groups you belong to. You can select individual tickets to process, customize the table data, and set up search filters to track various criteria.
If the system detects that the results are outdated, this icon indicates that a refresh is required ![]() .
.
To access the Tickets page, you must have the necessary permissions to view tickets and handle tasks. To see tickets assigned to a group, you must be a member of the group. In addition, the group must have the permission Group members can handle tasks assigned to other members.See Group Ticket Handling.
What can I do here?

-
Customize the table
Customize the table
You can customize what data appears in the table. From the top right corner of the screen, select 
The column options appear.
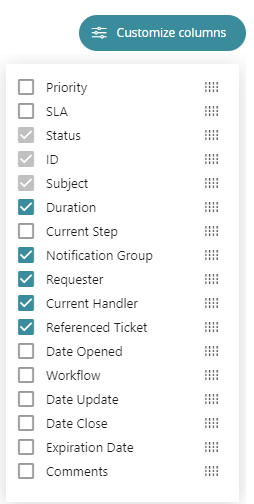
Select the columns you want to appear in the Tickets display:
-
Column names with a gray box
 cannot be removed from the table.
 -
Use
 to drag column names to change where they appear in the table.
Multi-domain environments include an option for a domain category.
Other customizations include:
-
Widen/Narrow table columns: To adjust the width of each column, drag the column dividers.
-
Change default ticket sorting:By default, the tickets are sorted by ID. To sort the tickets by another criteria, hover your mouse over the relevant column heading until an arrow appears. Select the arrow to sort the tickets.
Create and save search filters
You can save a query to use again later. For example, you can save the filter subject:*Cisco* AND status: in_progress and save it under the name Cisco Tickets.
Search results show up to 10,000 tickets. If more results exist, an indication appears.
To create a new search:
-
Click New Search.
-
Enter the search query details. Use the New Search bar to create a Free Text Search or click Detailed Search to manually select query details.
For example:

-
From the actions menu, select Save.

-
Fill in the values for:
Name
Description (optional)
-
Click Save and run.
The search results appear and the new filter appears in Saved Searches.
Select ticket to process
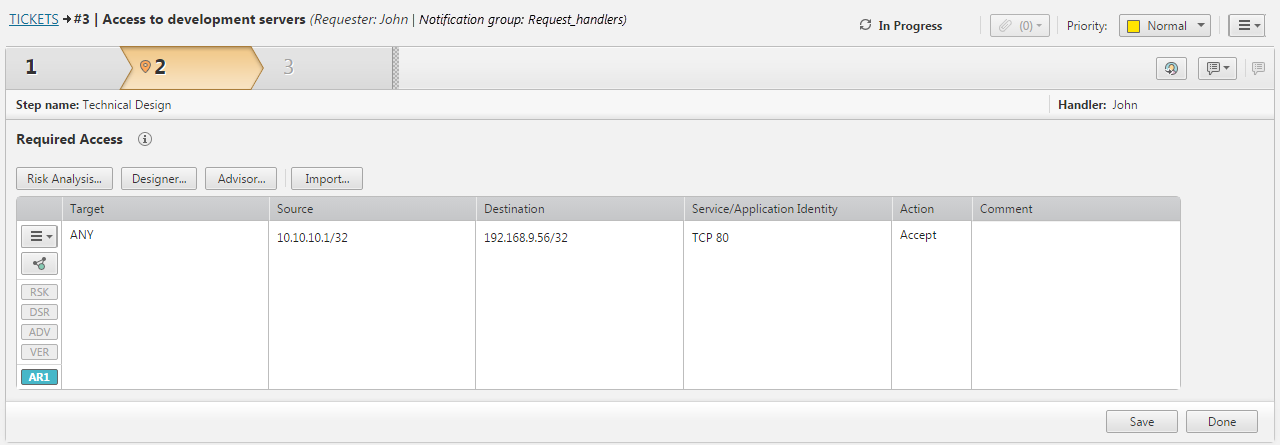
Click on the ticket you wish to process.
The ticket opens to its current open step. For more information, see Processing a Ticket.
View ticket details
Click the link in any column to view the ticket details.
For tickets with multiple tasks: You can also expand the drop-down list in the Status column to see the relevant tasks. Select a task to view its details.
The ticket details appear.
From this view, depending on your permissions, you can manage the ticket as it moves from step to step in the workflow.
View comments
When a Requester adds a comment to an assigned task, the Ticket Handler will see ![]() in the Comments column of their Tickets page.
in the Comments column of their Tickets page.
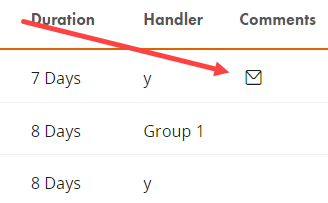
The Ticker Handler can click the icon in the Comments column.
The Comments window appears.
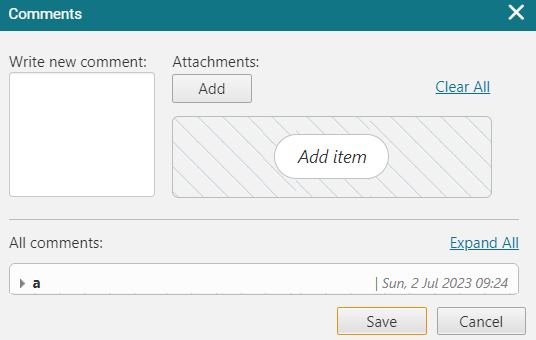
From the Comments window, view the comment and reply.
To view a ticket's details, click the name of the ticket. This lets you see the properties of the ticket and the fields for each step in the ticket.
-
If you want the comment to be viewable by the Ticket Requester, select Visible to requester.
Ticket Handlers have access to all comments and attachments, while Ticket Requesters see only their own comments and attachments and those explicitly marked Visible to requester.
How do I get here?
SecureChange > Tickets
Was this helpful?
Thank you!
We’d love your feedback
We really appreciate your feedback
Send this page to a colleague