On This Page
Adding Cisco Security Manager (CSM) Devices
TOS Classic monitors Cisco Security Manager devices for policy revision changes. To help you organize the information for your devices, you can use the device information worksheet. To see which TOS features are supported for your device, review the feature support table.
Prerequisites
If you currently monitor your firewalls as standalone devices and you want to now monitor the firewall through the Cisco device that manages them, add the Cisco device and its firewalls as a new device and then disable your standalone firewalls (see Status). You can select the standalone devices from the device tree to see the historical device data. When the device data in the standalone firewalls is obsolete, you can remove the standalone firewall devices from TOS Classic.
Add a Cisco Security manager Device
-
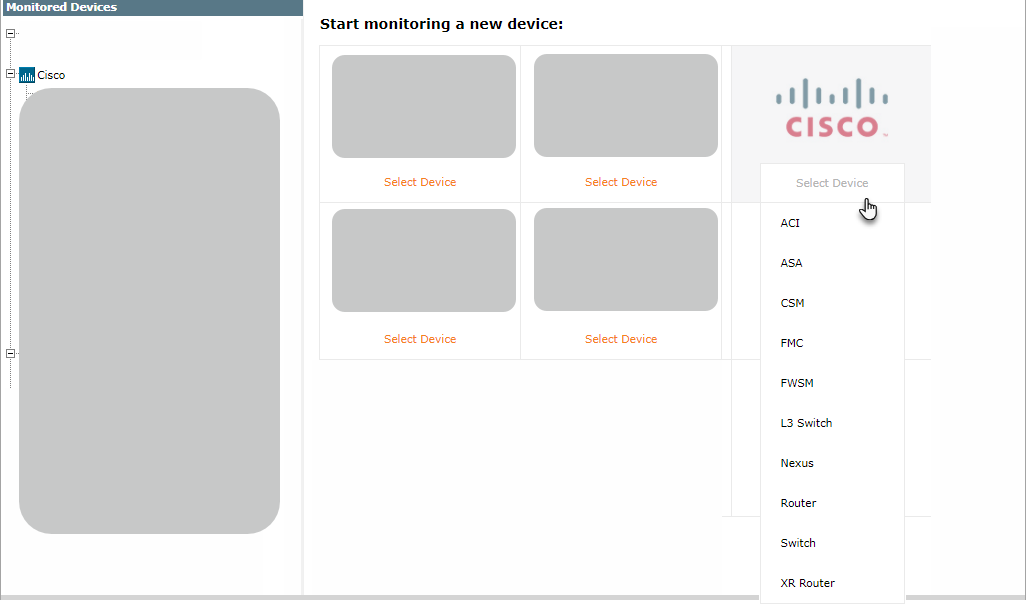
In TOS Classic, go to
-
Select the appropriate device type:

-
Configure the device settings:

- Name for Display
- Get revisions from IP Address
- ST server: In a distributed deployment, select which TOS Classic server monitors this device (Not shown in image)
Click Next.
-
Configure the TOS Classic connection to the Cisco device, according to the parameters required by the device:

- Enter the authentication details needed to connect to the Cisco device.
- TOS Classic connects to Cisco devices with the SSL protocol. To use default settings (recommended in most cases), leave the Port number blank.
-
Click Retrieve Certificate to setup encrypted communication between TOS Classic and the Cisco device.
The certificate appears, and the following message is displayed:

Click Next.
-
The Monitoring Settings page appears:

To use real-time monitoring when available, and timing settings from the Timing page, select Default. Otherwise, select Custom and configure the monitoring mode and settings:
Real-Time Monitoring using syslog: Select Custom settings and configure:
- 'Install policy' interval: After a policy is saved, if the policy is installed within this interval, both actions are shown in TOS Classic as one revision.
- Automatic fetch frequency: How frequently the policy is retrieved even if there is no policy save or install action.
-
Periodic Polling, select Custom settings and configure the Polling frequency: How often TOS Classic fetches the configuration from each device.
If you select 1 day, you can then select the exact time (hour and minute) for the daily polling.
Click Next.
-
Save the configuration.
The Cisco device now appears in the Monitored Devices tree.
To import devices or domains managed by the Cisco device into TOS Classic:
- Make sure you receive the first Cisco policy revision.
- Select the Cisco device from the device tree.
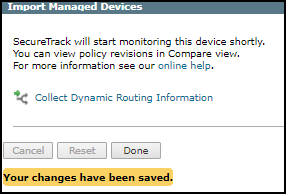
- Click Import Managed Devices or Import Domains and Managed Devices.
- From the list of devices managed by the Cisco device, select the devices to import and click Import.
-
Do one of the following:
- Click Reset to update the list of managed devices.
- Click Done to return to the device tree (Manage Devices).
The managed devices appear under the Cisco device in the device tree.
- If available, click
 to Collect Dynamic Routing Information for the managed devices.
How Do I Get Here?
In TOS Classic, go to
