On this page
Monitoring Forcepoint (Stonesoft) SMC
Overview
TOS monitors Forcepoint devices (Stonesoft Management Center) for policy revision changes.
To see which TOS features are supported for your device, review the SecureTrack Features by Vendor.
Before you add a Forcepoint Stonesoft Management Center (SMC) device to TOS, you must prepare the SMC with a certificate for the SMC API. The firewalls must be configured under the Share Domain.
Prepare the Forcepoint Stonesoft Management Center (SMC)
- Log in to the device interface.
- Go to: Configuration > User Authentication
-
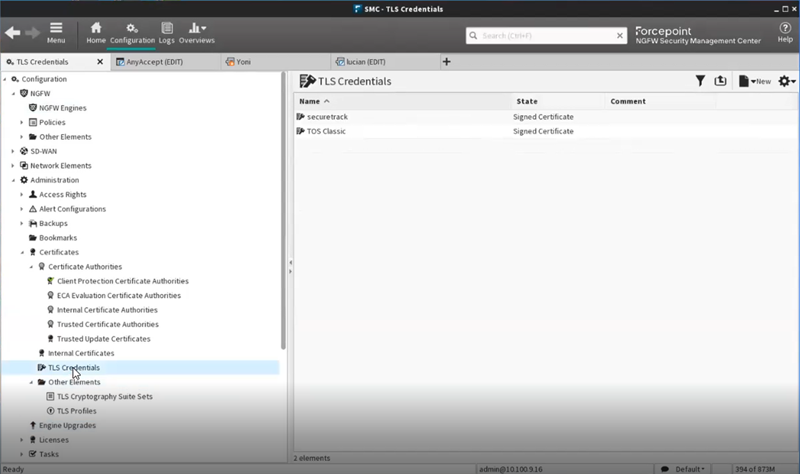
Navigate to Administration > Certificates > TLS Credentials.
-
In the top right-hand corner, select New.
-
Enter
TOSas the name and common name of the request, and click Next.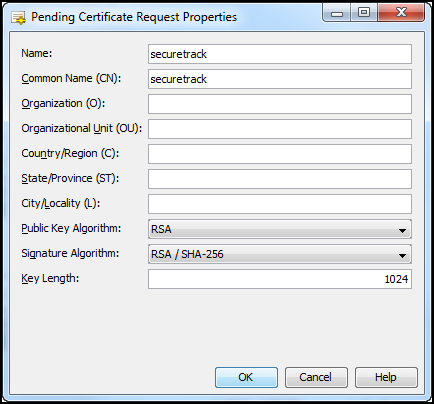
-
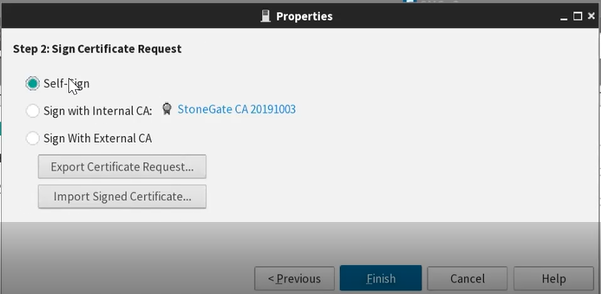
Select Self-Sign.
-
Select Finish.
-
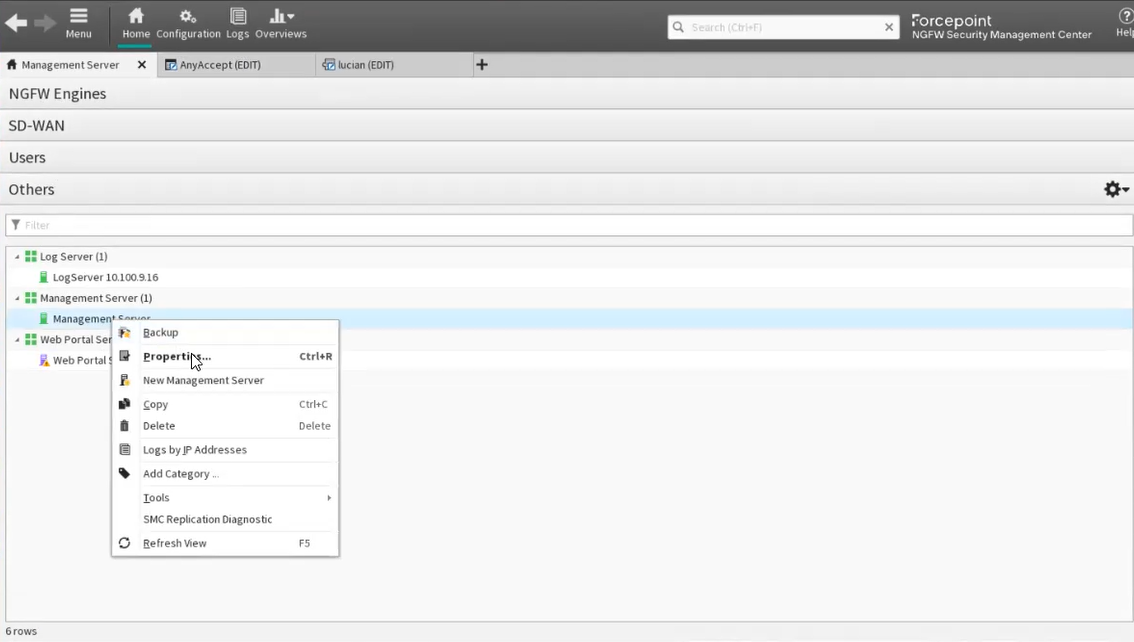
Go to: Home .
-
From the Others list, right-click Management Server and select Properties.
- In the SMC API tab of Management Server -Propertieschoose the certificate that you just created. Click Select.
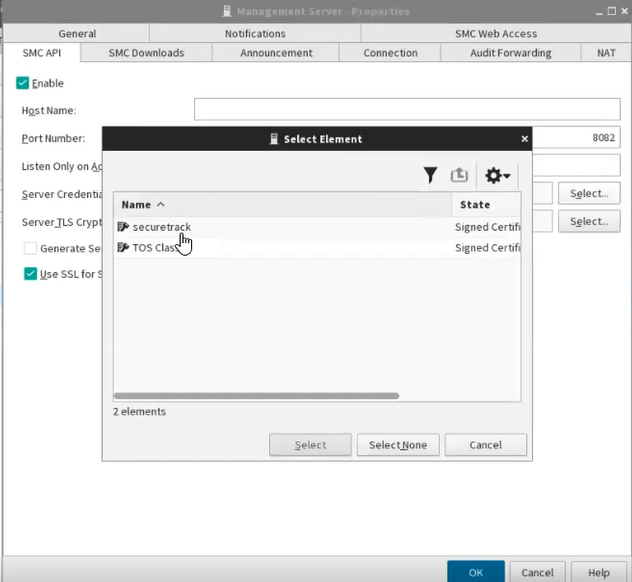
- Click OK to close the Management Server properties.
- Go to: Configuration > Administration > Access Rights > API Clients
- Right-click API Clients and select New API Client.
-
In the General tab, enter the name
securetrack_api, copy the authentication key, and click OK.Copy the key to a temporary location because you cannot get the same key again from the API client settings.
If the key is lost before you enter it into SecureTrack, you must generate a new key.
- In the Permissions tab, select Unrestricted Permissions and select the Superuser role.
- Click OK.
You can now add the Forcepoint device to SecureTrack.
SecureTrack and the monitored devices must be synchronized with the correct date and time, either manually or automatically. We recommend that you also configure the devices to resolve DNS queries.
Add a device
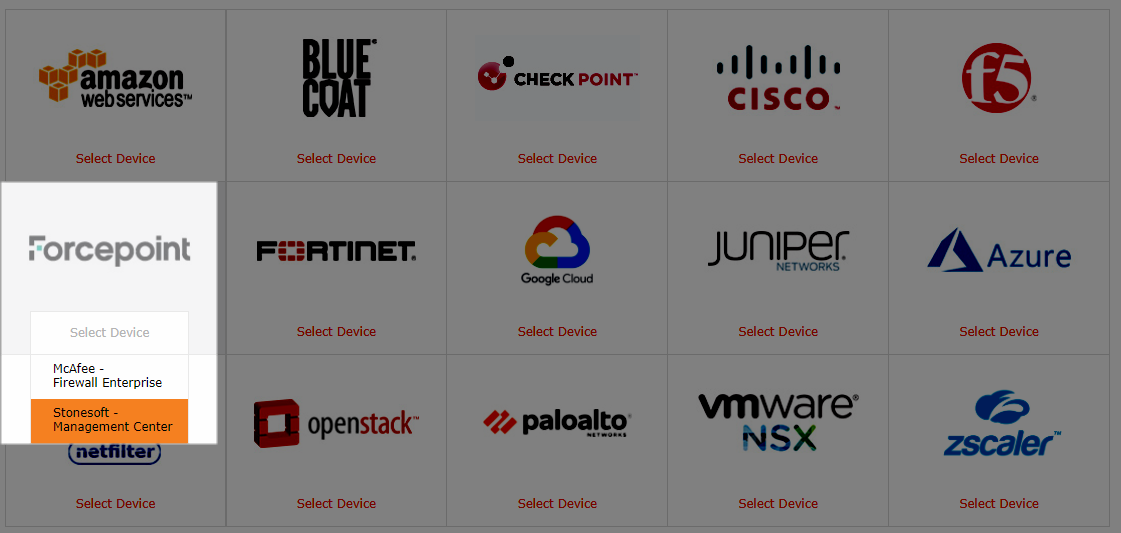
-
Select Forcepoint > Stonesoft - Management Center:
-
Configure the device settings:
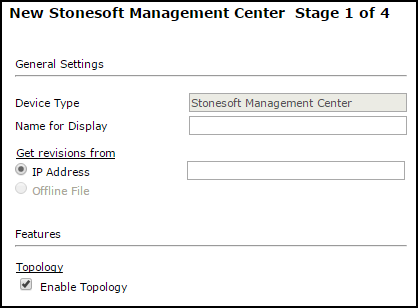
- Name for Display
- Get revisions from IP Address
-
ST server: In a distributed deployment, select which TOS cluster monitors this device (not shown in image)
Click Next.
-
Configure the SecureTrack connection to the Forcepoint device, according to the parameters required by the device:
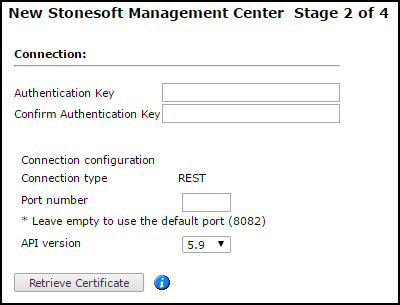
- Enter the authentication details needed to connect to the Forcepoint device.
- TOS connects to Forcepoint devices with the REST protocol. To use default settings (recommended in most cases), leave the Port number blank.
- Specify the version of that is installed on the Forcepoint device. To use default settings (recommended in most cases), leave the Port number blank.
- Click Retrieve Certificate to setup encrypted communication between TOS and the Forcepoint device.
The certificate, and the following message, appear:

Click Next.
-
In Monitoring Settings, do one of the following:
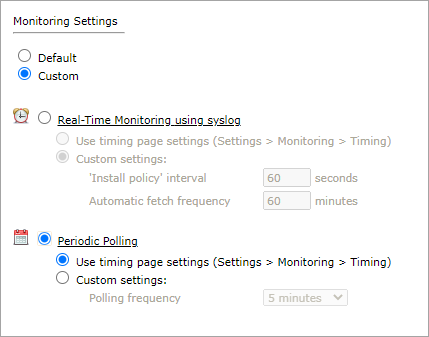
- To use real-time monitoring and timing settings from the Timing page, select Default.
Otherwise, select Custom and configure the monitoring mode and settings.
- Periodic Polling, select Custom settings and configure the Polling frequency: How often TOS fetches the configuration from each device.
If you select 1 day, you can then select the exact time (hour and minute) for the daily polling.
Click Next.
- Save the configuration.
The Forcepoint device now appears in the Monitored Devices tree.
To customize the device object that represents the Internet, see Define Internet Object.
Import devices or domains managed by the Forcepoint device into TOS
- Make sure you receive the first Forcepoint policy revision.
- Select the Forcepoint device from the device tree.
- Click Import Managed Devices or Import Domains and Managed Devices.
- From the list of devices managed by the Forcepoint device, select the devices to import and click Import.
-
Do one of the following:
- Click Reset to update the list of managed devices.
- Click Done to return to the device tree.
The managed devices appear under the Forcepoint device in the device tree.
- If available, click
 to Collect Dynamic Routing Information for the managed devices.

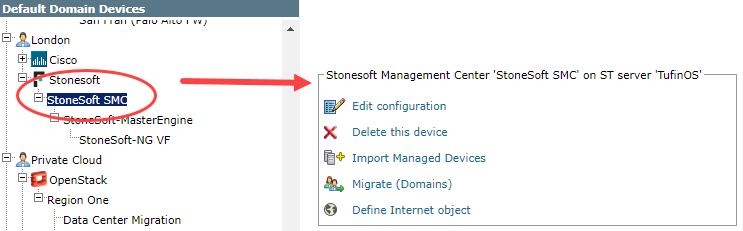
Configure a monitored device
After you add a device, further configuration options are available.
Options vary depending on your environment.
Example
-
Edit configuration: Use the wizard to modify selected device settings. See Add a Device in this topic.
-
Delete this device: Type yes to confirm that you want to delete the device.
-
Migrate (ST servers): Available in distributed deployments. Select the server where the device will be monitored and click Migrate.
-
Migrate (Domains): Available in multi-domain deployments. Select the domain where the device will be monitored and click Migrate.
- Define Internet object
How do I get here?
SecureTrack > Monitoring ![]() > Manage Devices
> Manage Devices
Was this helpful?
Thank you!
We’d love your feedback
We really appreciate your feedback
Send this page to a colleague