On this page
Monitoring Juniper M and MX
Overview
TOS monitors M Series and MX Series devices for policy revision changes.
To see which TOS features are supported for your device, review the SecureTrack Features by Vendor.
Prerequisites
Before you add the device to TOS:
- SecureTrack and the monitored devices must be synchronized with the correct date and time, either manually or automatically. We recommend that you also configure the devices to resolve DNS queries.
-
Make sure that the Juniper device user account permission to run the following commands:
-
Retrieve revision
set cli screen-width 1000
show configuration
show configuration policy-options
show system uptime
show version
show configuration system -
Virtual context
show logical-system
-
Dynamic topology
show configuration routing-instances
show route active-path
show interfaces terse
show vrrp
show interfaces
show bgp neighbor -
Export versions of JunOS devices may not support SSH.
-
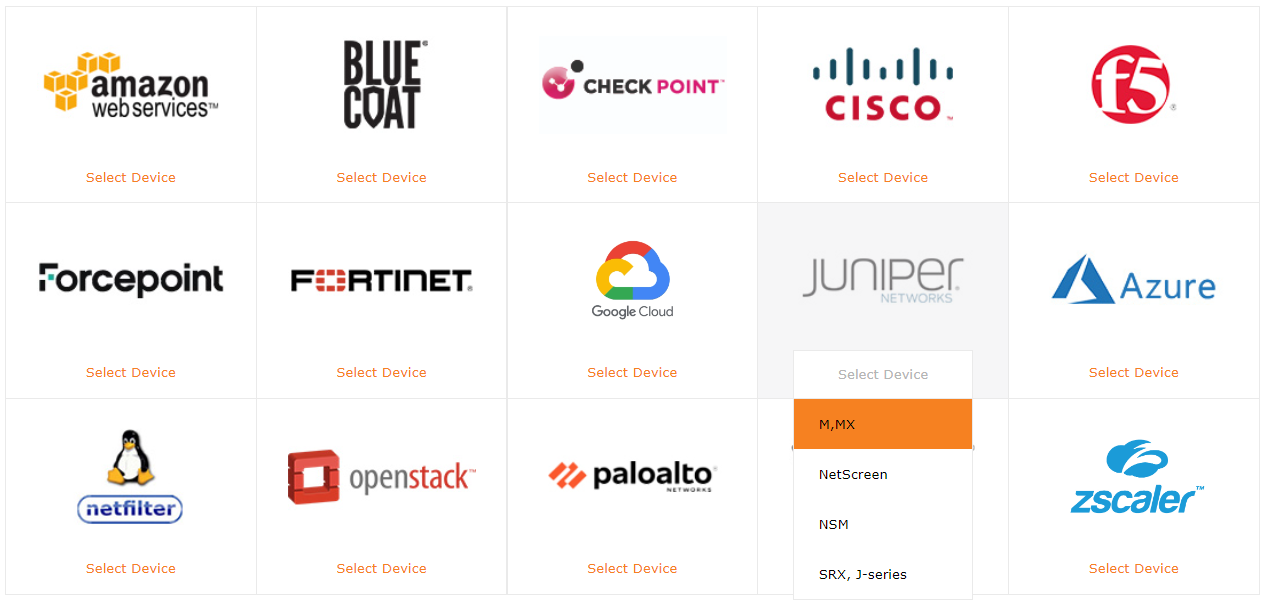
Add a device
-
Select Juniper > M, MX.
-
Configure the device settings:
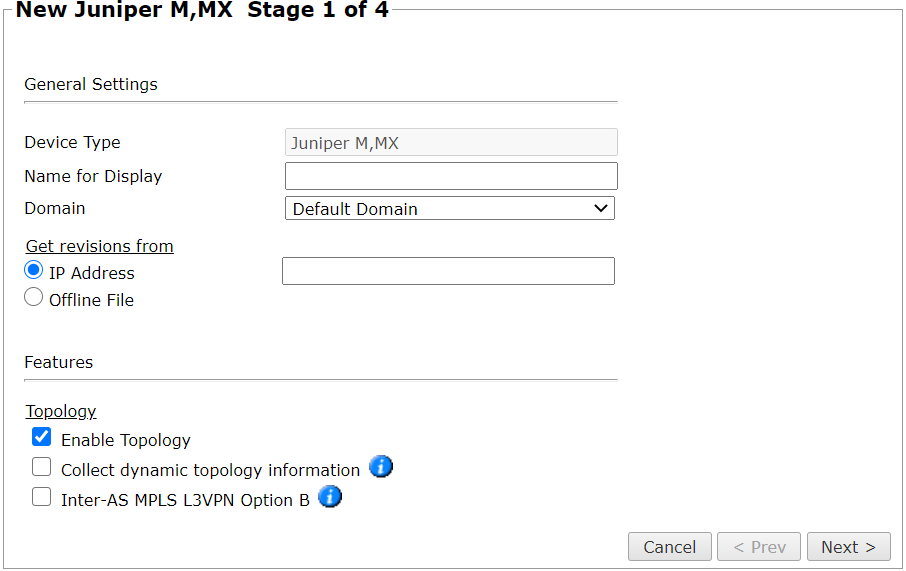
- Name for Display
-
Domain: Available only if you have configured your system for managing multi-domains and All Domains is currently selected. Select the domain to which to add the device. The Domain can only be entered when adding a device; to change the Domain, you must migrate the device.
-
Get revisions from: One of the following:
-
IP Address: Revisions are retrieved automatically
-
Offline File: (If available) Revisions are manually uploaded to SecureTrack for Offline Analysis
-
-
ST server: In a distributed deployment, select which TOS cluster monitors this device (not shown in image)
-
Enable Topology: Collects routing information for building the network Map.
Topology options for Advanced management mode are configured when you import managed devices.
- Collect dynamic topology information: Select if the device uses dynamic addressing (such as DHCP) or dynamic routing protocols (such as OSPF).
- Inter-AS MPLS L3VPN Option: Select if this router is an ASBR in an MPLS option B environment. This option will retrieve VPNv4 labels associated with inter-AS communication.
-
Click Next.
-
Configure the TOS connection to the device, according to the parameters required by the device:
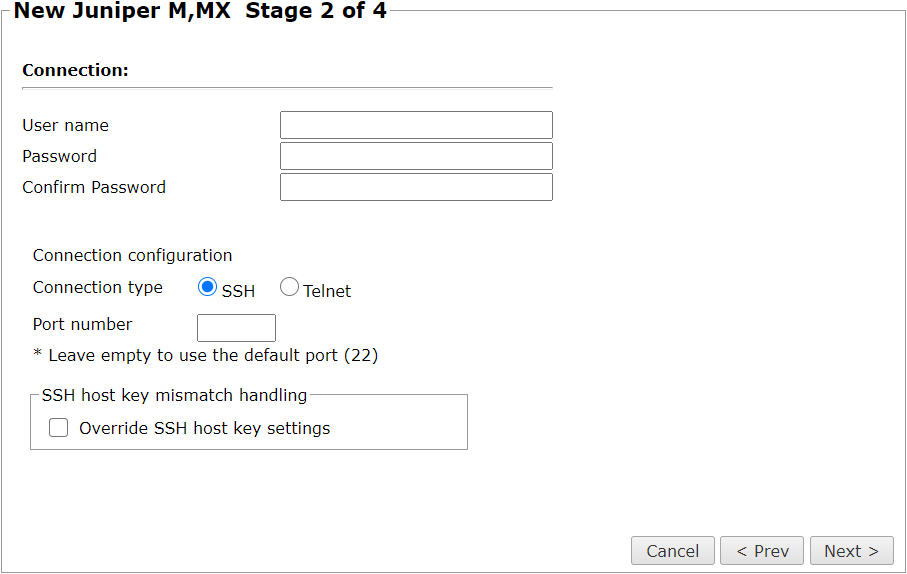
Make sure you have a user configured on the device with the privileges required by SecureTrack. See the prerequisites section for a list of required privileges.
-
Enter the authentication details (User name and Password) needed to connect to the Juniper device.
-
Connection configuration: Select whether to use SSH (preferred) or Telnet. To use default settings (recommended in most cases), leave the Port number blank.
The device must be configured to use SSH version 2.
-
-
Click Next.
-
In Monitoring Settings, do one of the following:
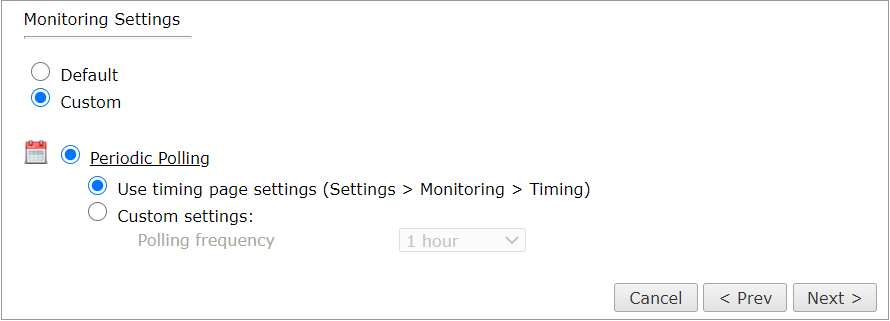
- To use timing settings from the Timing page, select Default.
Otherwise, select Custom and configure the monitoring mode and settings.
-
Periodic Polling, select Custom settings and configure the Polling frequency: How often TOS fetches the configuration from each device.
If you select 1 day, you can then select the exact time (hour and minute) for the daily polling.
-
Click Next.
- Save the configuration.
The device now appears in the Monitored Devices tree.
Configure a monitored device
After you add a device, further configuration options are available.
Options vary depending on your environment.
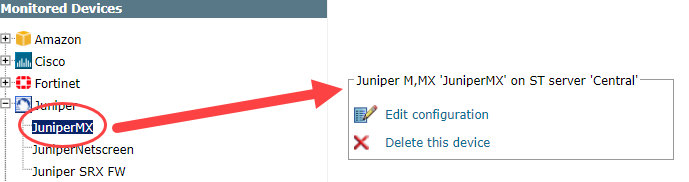
Example
-
Edit configuration: Use the wizard to modify selected device settings. See Add a Device in this topic.
-
Delete this device: Type yes to confirm that you want to delete the device.
How do I get here?
SecureTrack > Monitoring ![]() > Manage Devices
> Manage Devices
Was this helpful?
Thank you!
We’d love your feedback
We really appreciate your feedback
Send this page to a colleague