On this page
Monitoring Google Cloud Platform
Overview
To see which TOS features are supported for your device, review the SecureTrack Features by Vendor.
The GCP project allows Google users to manage and create their virtual machines (VMs), assign them to a specific virtual private cloud (VPC). The VPCs contain firewalls which define security rules and restricts access between VMs, and specify the supported objects and services.
Prerequisites
-
Since every GCP project has a different project ID, verify that you have the project ID of your GCP project. You need this ID to monitor the required projects.
-
Make sure that the GCP service account that you use for TOS monitoring has permission to run these commands: (TOS requires minimum permissive privileges to monitor devices.)
-
Policy Visibility only:
compute.firewalls.list
compute.instances.list
compute.networks.list
compute.projects.get
compute.subnetworks.list
resourcemanager.projects.get
serviceusage.services.list
compute.firewalls.list compute.instances.list compute.networks.list compute.projects.get compute.subnetworks.list resourcemanager.projects.get serviceusage.services.list -
Policy Visibility and Topology:
compute.firewalls.list
compute.instances.list
compute.interconnectAttachments.list
compute.interconnects.list
compute.networks.list
compute.projects.get
compute.routers.get
compute.routers.list
compute.routes.get
compute.routes.list
compute.subnetworks.list
compute.vpnGateways.list
compute.vpnTunnels.list
resourcemanager.projects.get
serviceusage.services.list
compute.firewalls.list compute.instances.list compute.interconnectAttachments.list compute.interconnects.list compute.networks.list compute.projects.get compute.routers.get compute.routers.list compute.routes.get compute.routes.list compute.subnetworks.list compute.vpnGateways.list compute.vpnTunnels.list resourcemanager.projects.get serviceusage.services.list
-
-
Generate a service account key in a JSON format for your GCP project and save it on your system. Follow the instructions in the official GCP documentation for creating the service account key using the console.
-
Make firewall changes as necessary to allow TOS to make outbound HTTPS (TCP port 443) connections to:
https://oauth2.googleapis.com– Utilized for OAuth 2.0 authentication processes.https://www.googleapis.com– Access point for various Google Cloud APIs.
Considerations:
-
Changing Endpoints: GCP may use different IP addresses and servers based on the service and region. It's recommended to allow HTTPS access to the domains listed above to avoid connection issues.
-
Firewall Settings: If your firewall policy blocks general outbound traffic, you can create allowlists using those domain names. Check regularly for updates from Google.
-
Reference Documentation: For the latest list of GCP IP ranges and endpoints, see Google Cloud IP Ranges.
Add a device
-
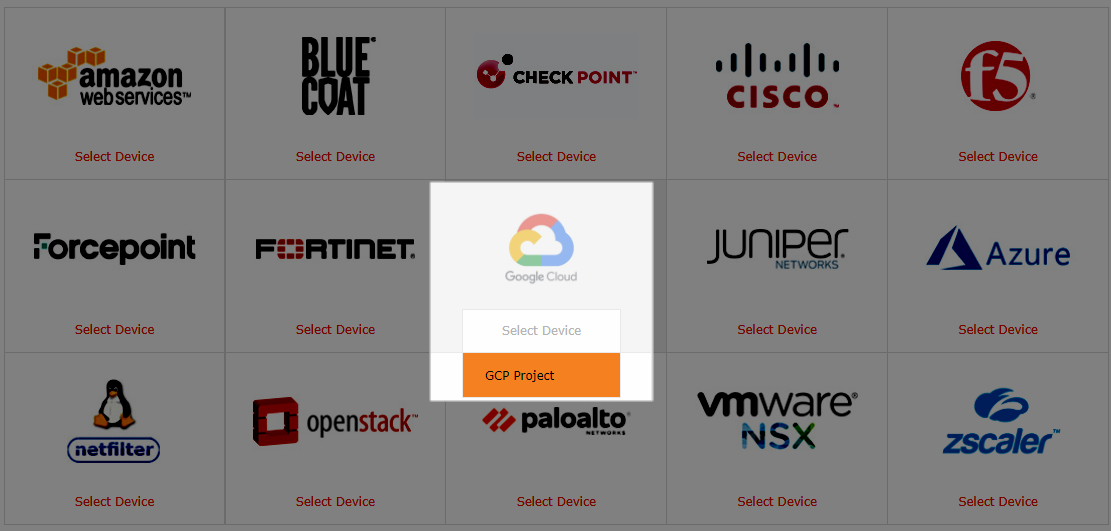
Select Google Cloud > GCP Project:
-
Configure the device settings:

-
Device Type: This value is preloaded as Google GCP Project.
-
Name for Display: Name of the GCP project.
-
Domain: Available only if you have configured your system for managing multi-domains and All Domains is currently selected. Select the domain to which to add the device. The Domain can only be entered when adding a device; to change the Domain, you must migrate the device.
-
- Click Next.
-
Specify the Project ID of your GCP project.
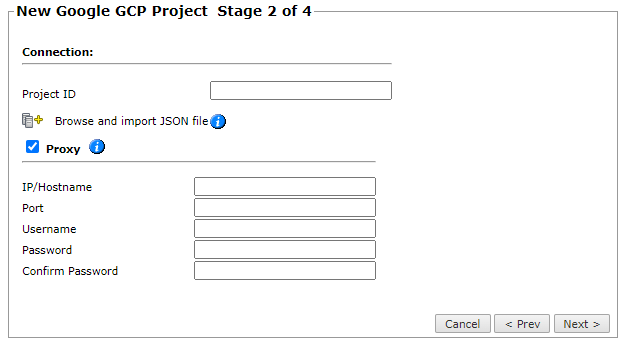
-
Click Browse and import JSON file to upload the file that contains the GCP service account key (see Prerequisites).
-
Select the Proxy check box to add the ability to connect SecureTrack to the GCP Project device using a local proxy server.
The proxy acts as an intermediary between the client and the server, providing secure access to resources while protecting the server from threats such as malware.
If you connect to the device with a proxy server, select Proxy and enter the relevant credentials.
If the proxy performs TLS inspection, you must import the proxy’s trusted certificate into TOS before configuring the proxy. See Import a Proxy Certificate for TLS Inspection.
- Click Next.
-
In Monitoring Settings, do one of the following:
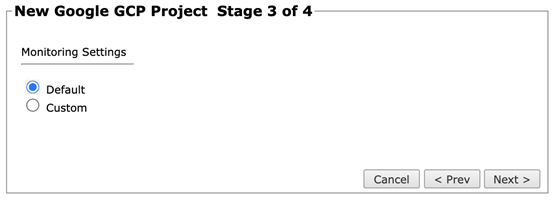
- Select Default to use real-time monitoring and timing settings from the Timing page.
Otherwise, select Custom and configure the monitoring mode and settings.
- In Periodic Polling, select Custom settings and configure the Polling frequency - the frequency at which TOS fetches the configuration from each device.
If you select 1 day, you can then select the exact time (hour and minute) for the daily polling.
- Click Next.
-
Save the configuration.
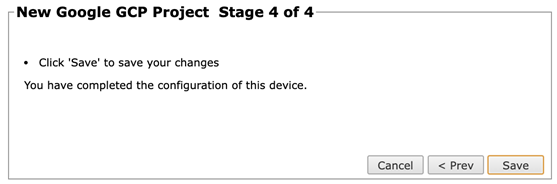
The GCP project now appears in the Monitored Devices list.
Configure a monitored device
After you add a device, further configuration options are available.
Options vary depending on your environment.
Example
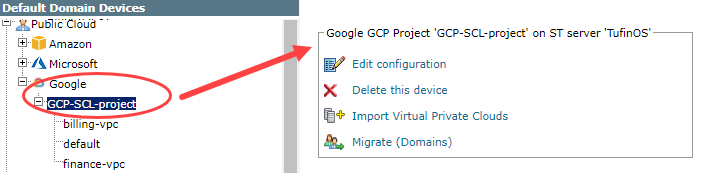
-
Edit configuration: Use the wizard to modify selected device settings. See Add a Device in this topic.
-
Delete this device: Type yes to confirm that you want to delete the device.
-
Import Virtual Private Clouds: Select the Virtual Private Clouds to be added.
-
Migrate (ST servers): Available in distributed deployments. Select the server where the device will be monitored and click Migrate.
-
Migrate (Domains): Available in multi-domain deployments. Select the domain where the device will be monitored and click Migrate.
How do I get here?
SecureTrack > Monitoring ![]() > Manage Devices
> Manage Devices
Was this helpful?
Thank you!
We’d love your feedback
We really appreciate your feedback
Send this page to a colleague