On This Page
Rule Recertification Workflow in RLM
Overview
When RLM is installed and integrated with SecureChange, a corresponding Recertification Workflow is automatically generated. You can use the automatic template or create your own workflow, according to the requirements outlined in this article.
Overview of required workflow steps:
-
Step 1 opens the ticket.
-
Step 2 sets the recertification decision. RLM virtually clicks the Certify or Decertify button, as specified by the Rule Owner.
-
Step 3 implements the certification decisions in SecureTrack by updating the rule metadata.
Configuring the Rule Recertification Workflow Template
- From SecureChange, navigate to the Workflows page.
-
Select the Rule Recertification workflow. .
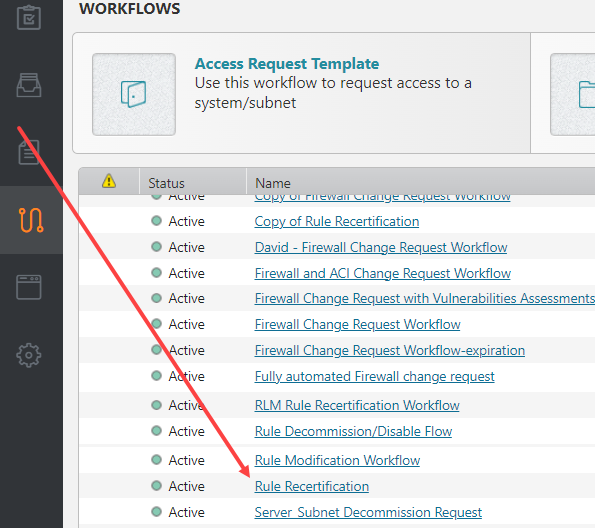
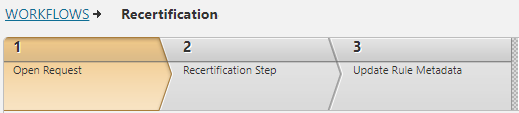
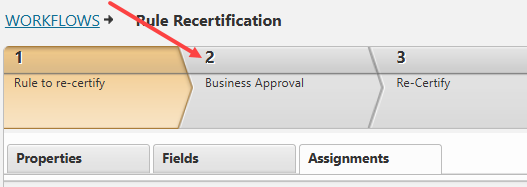
The workflow opens, displaying three preconfigured steps: Rule to re-certify, Business Approval, and Re-certify.
- Configure Step 1: Rule to re-certify
From Step 1, navigate to the Fields tab.
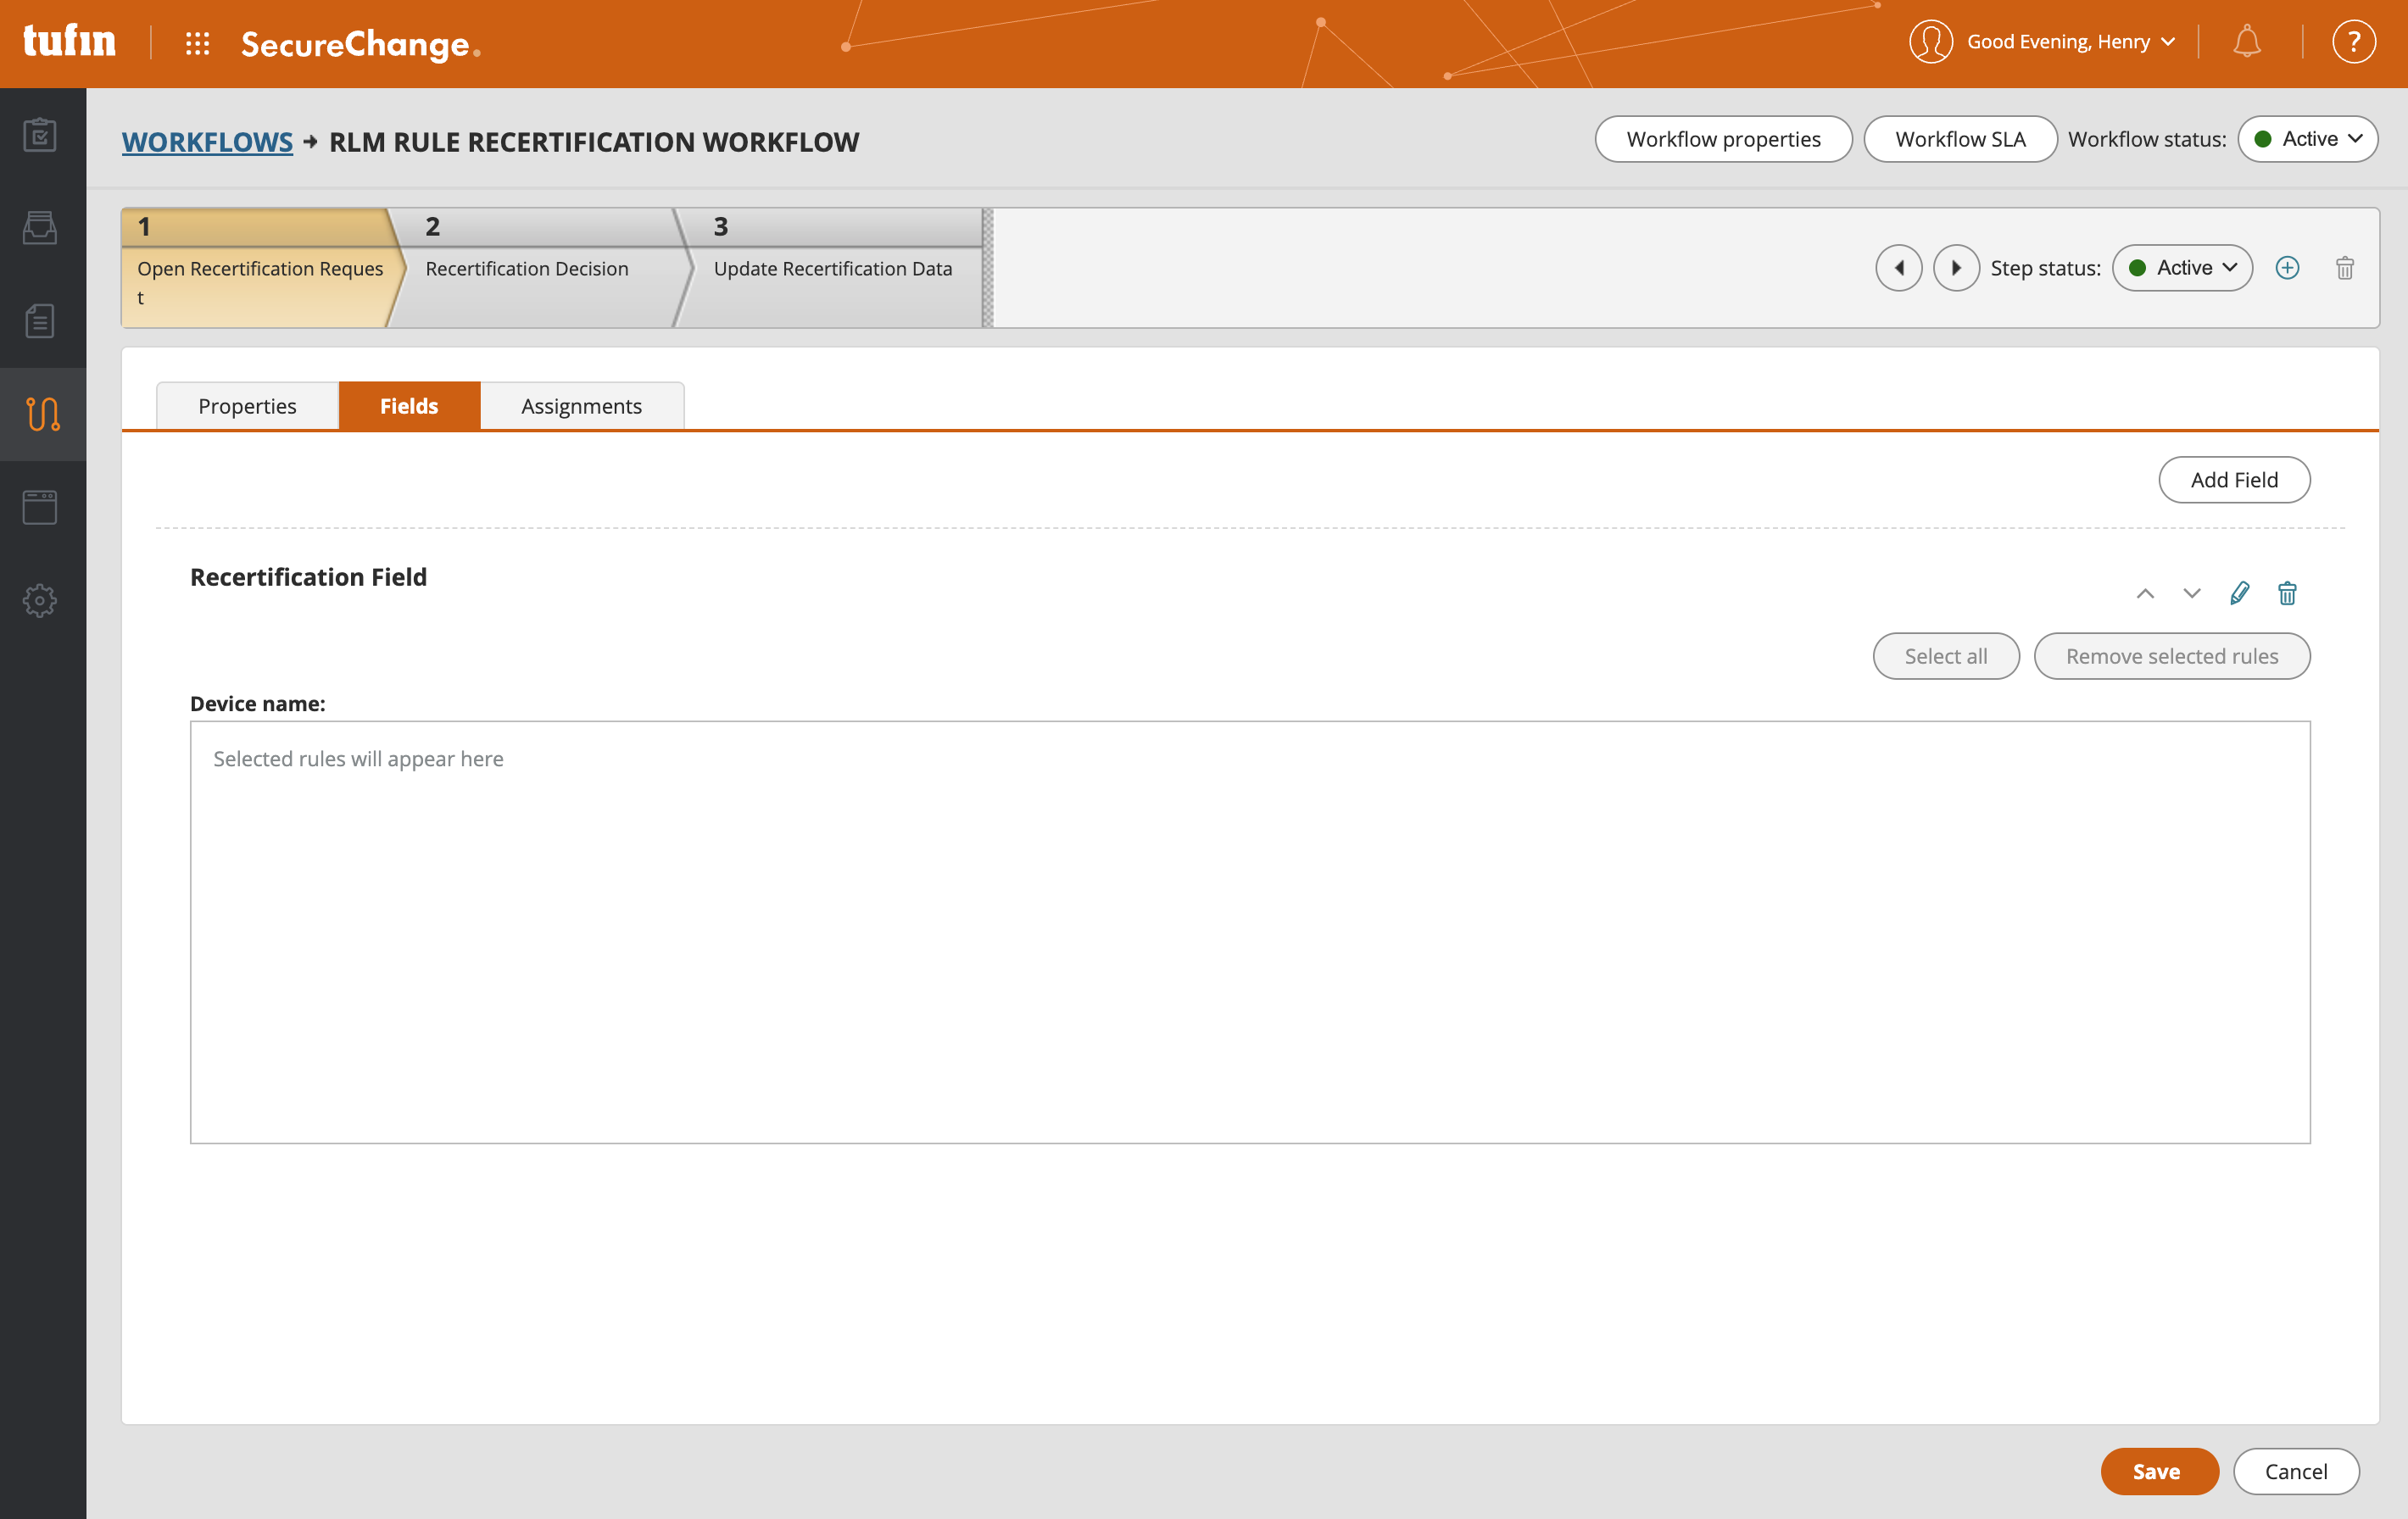
Click Add Field.
From the Add Field screen, configure:
Field Type: Rule Recertification
Name:
Click OK.
Navigate to the Assignments tab.
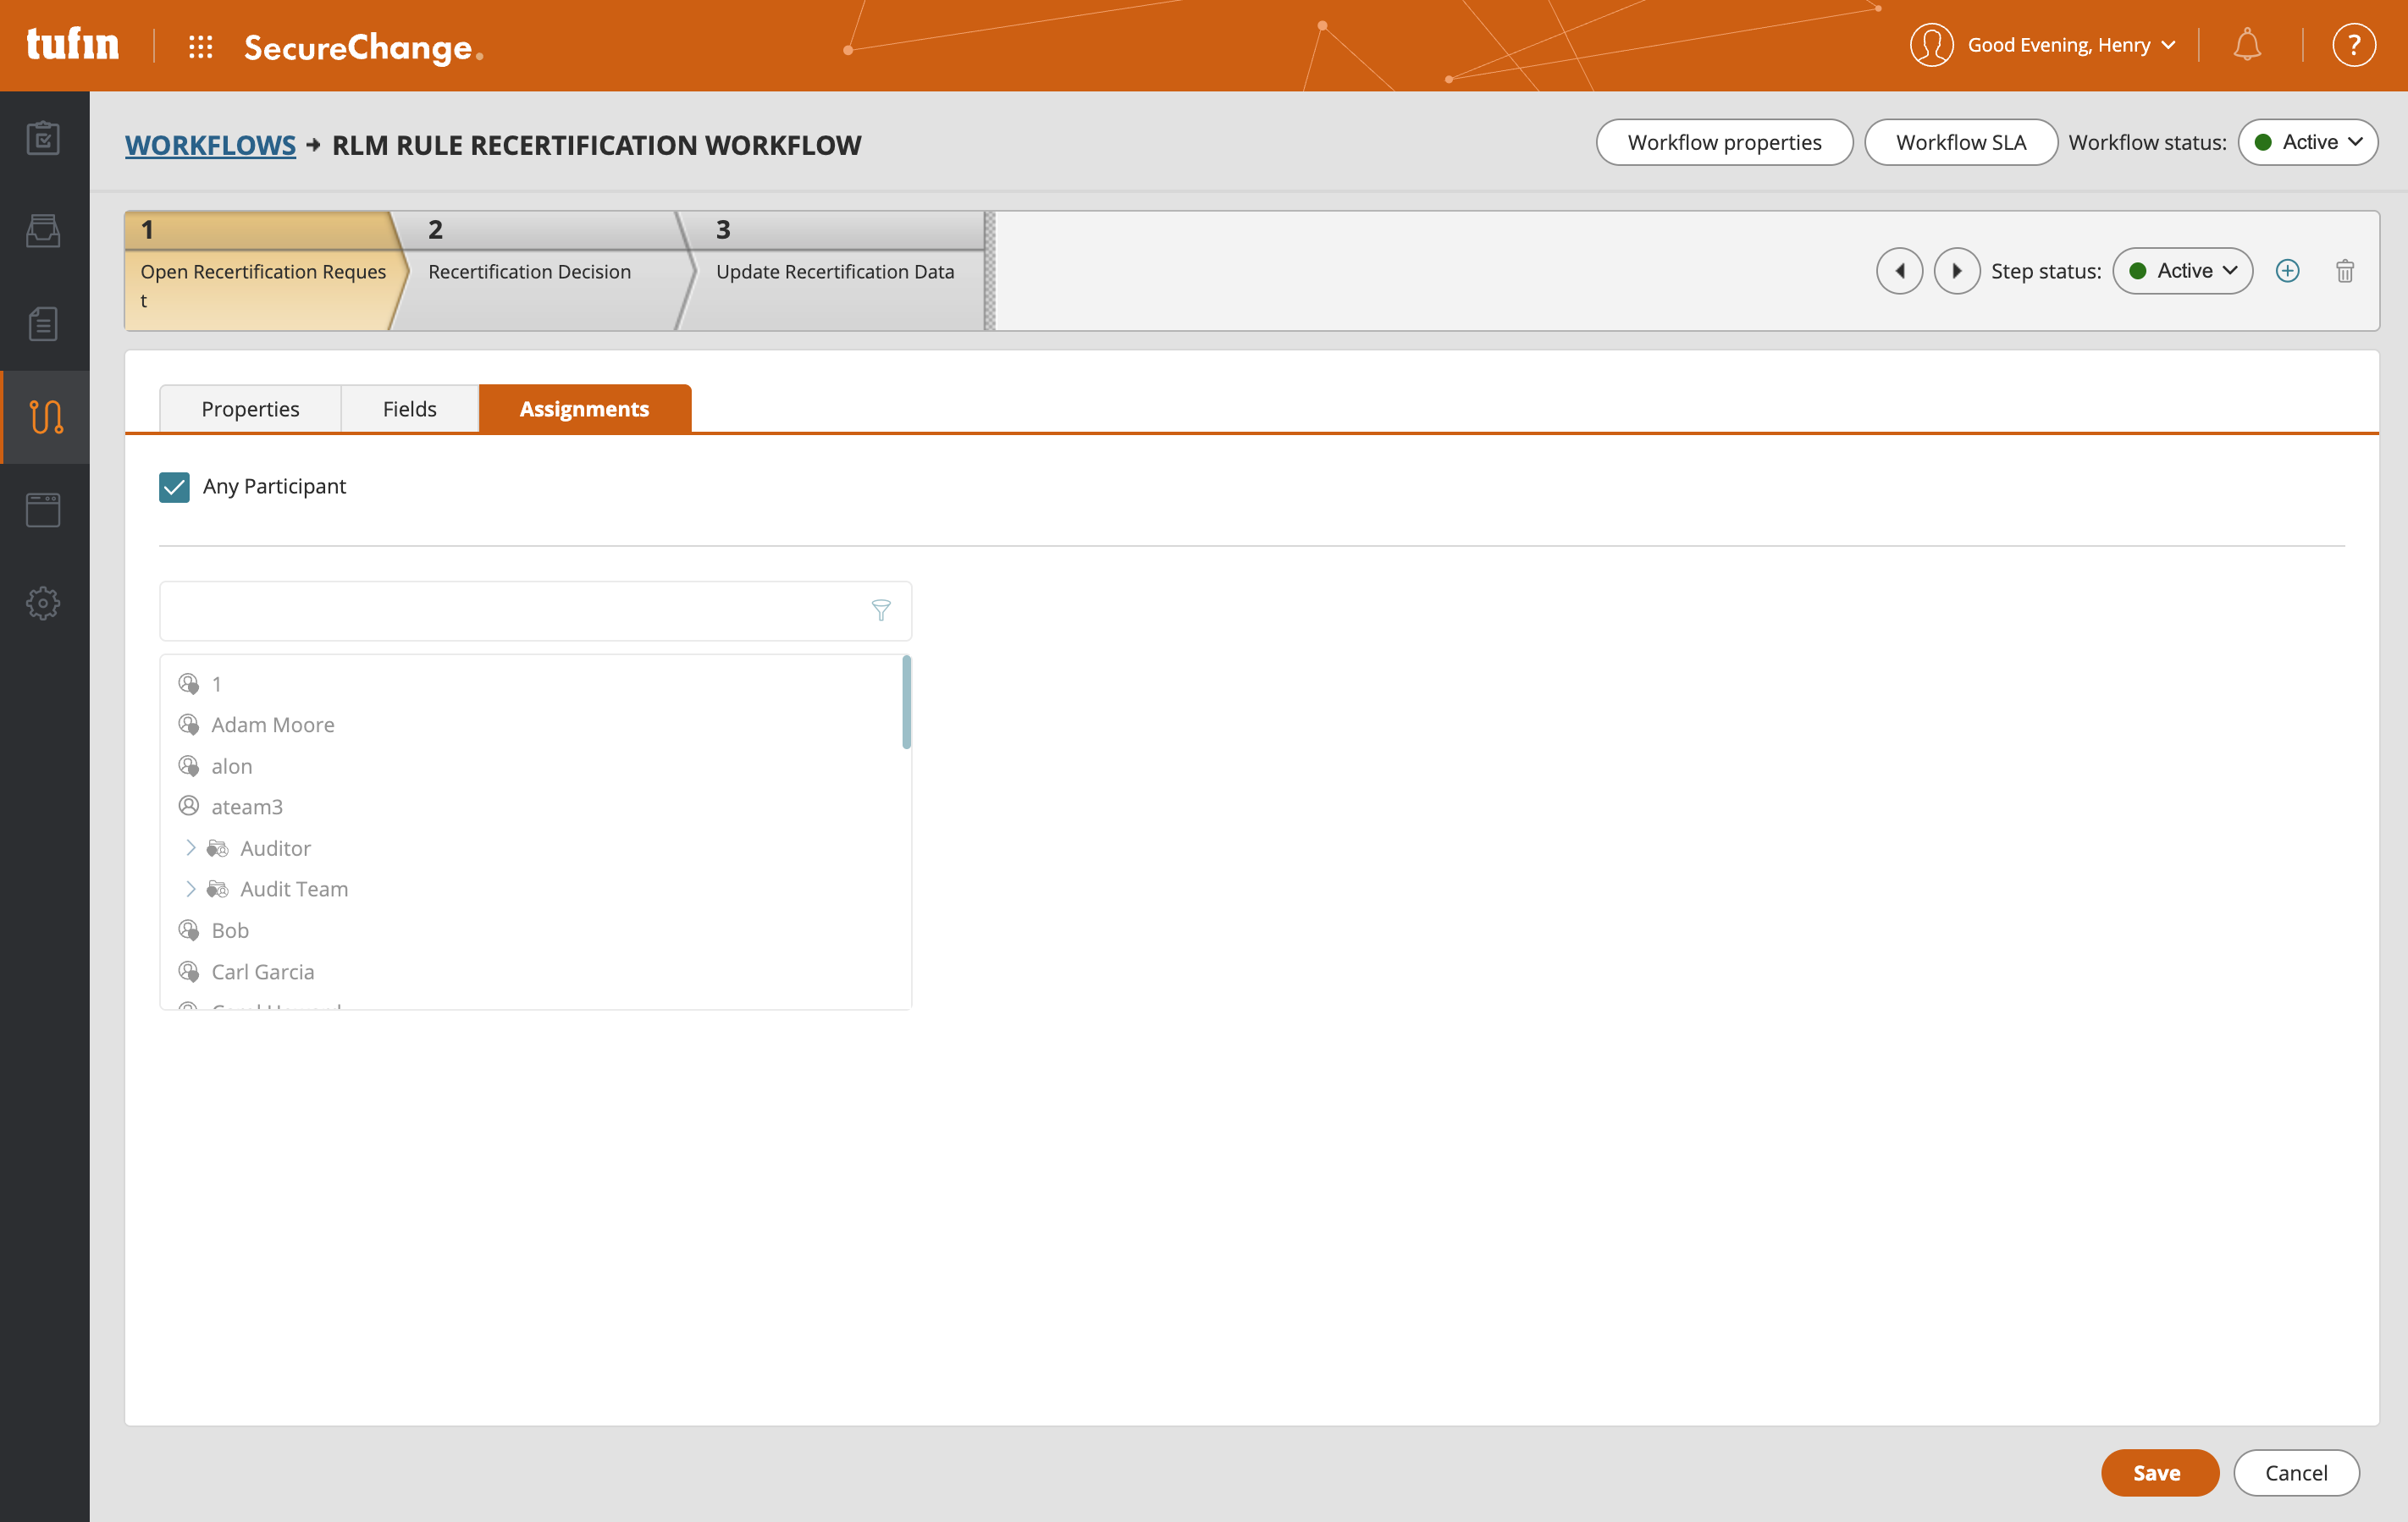
- Select the user assigned to be Ticket Requester, then add any additional users that you want to be assigned to this step. Alternatively, select Any Participant.
- Click Save.
- Navigate to Step 2: Business Approval.
-
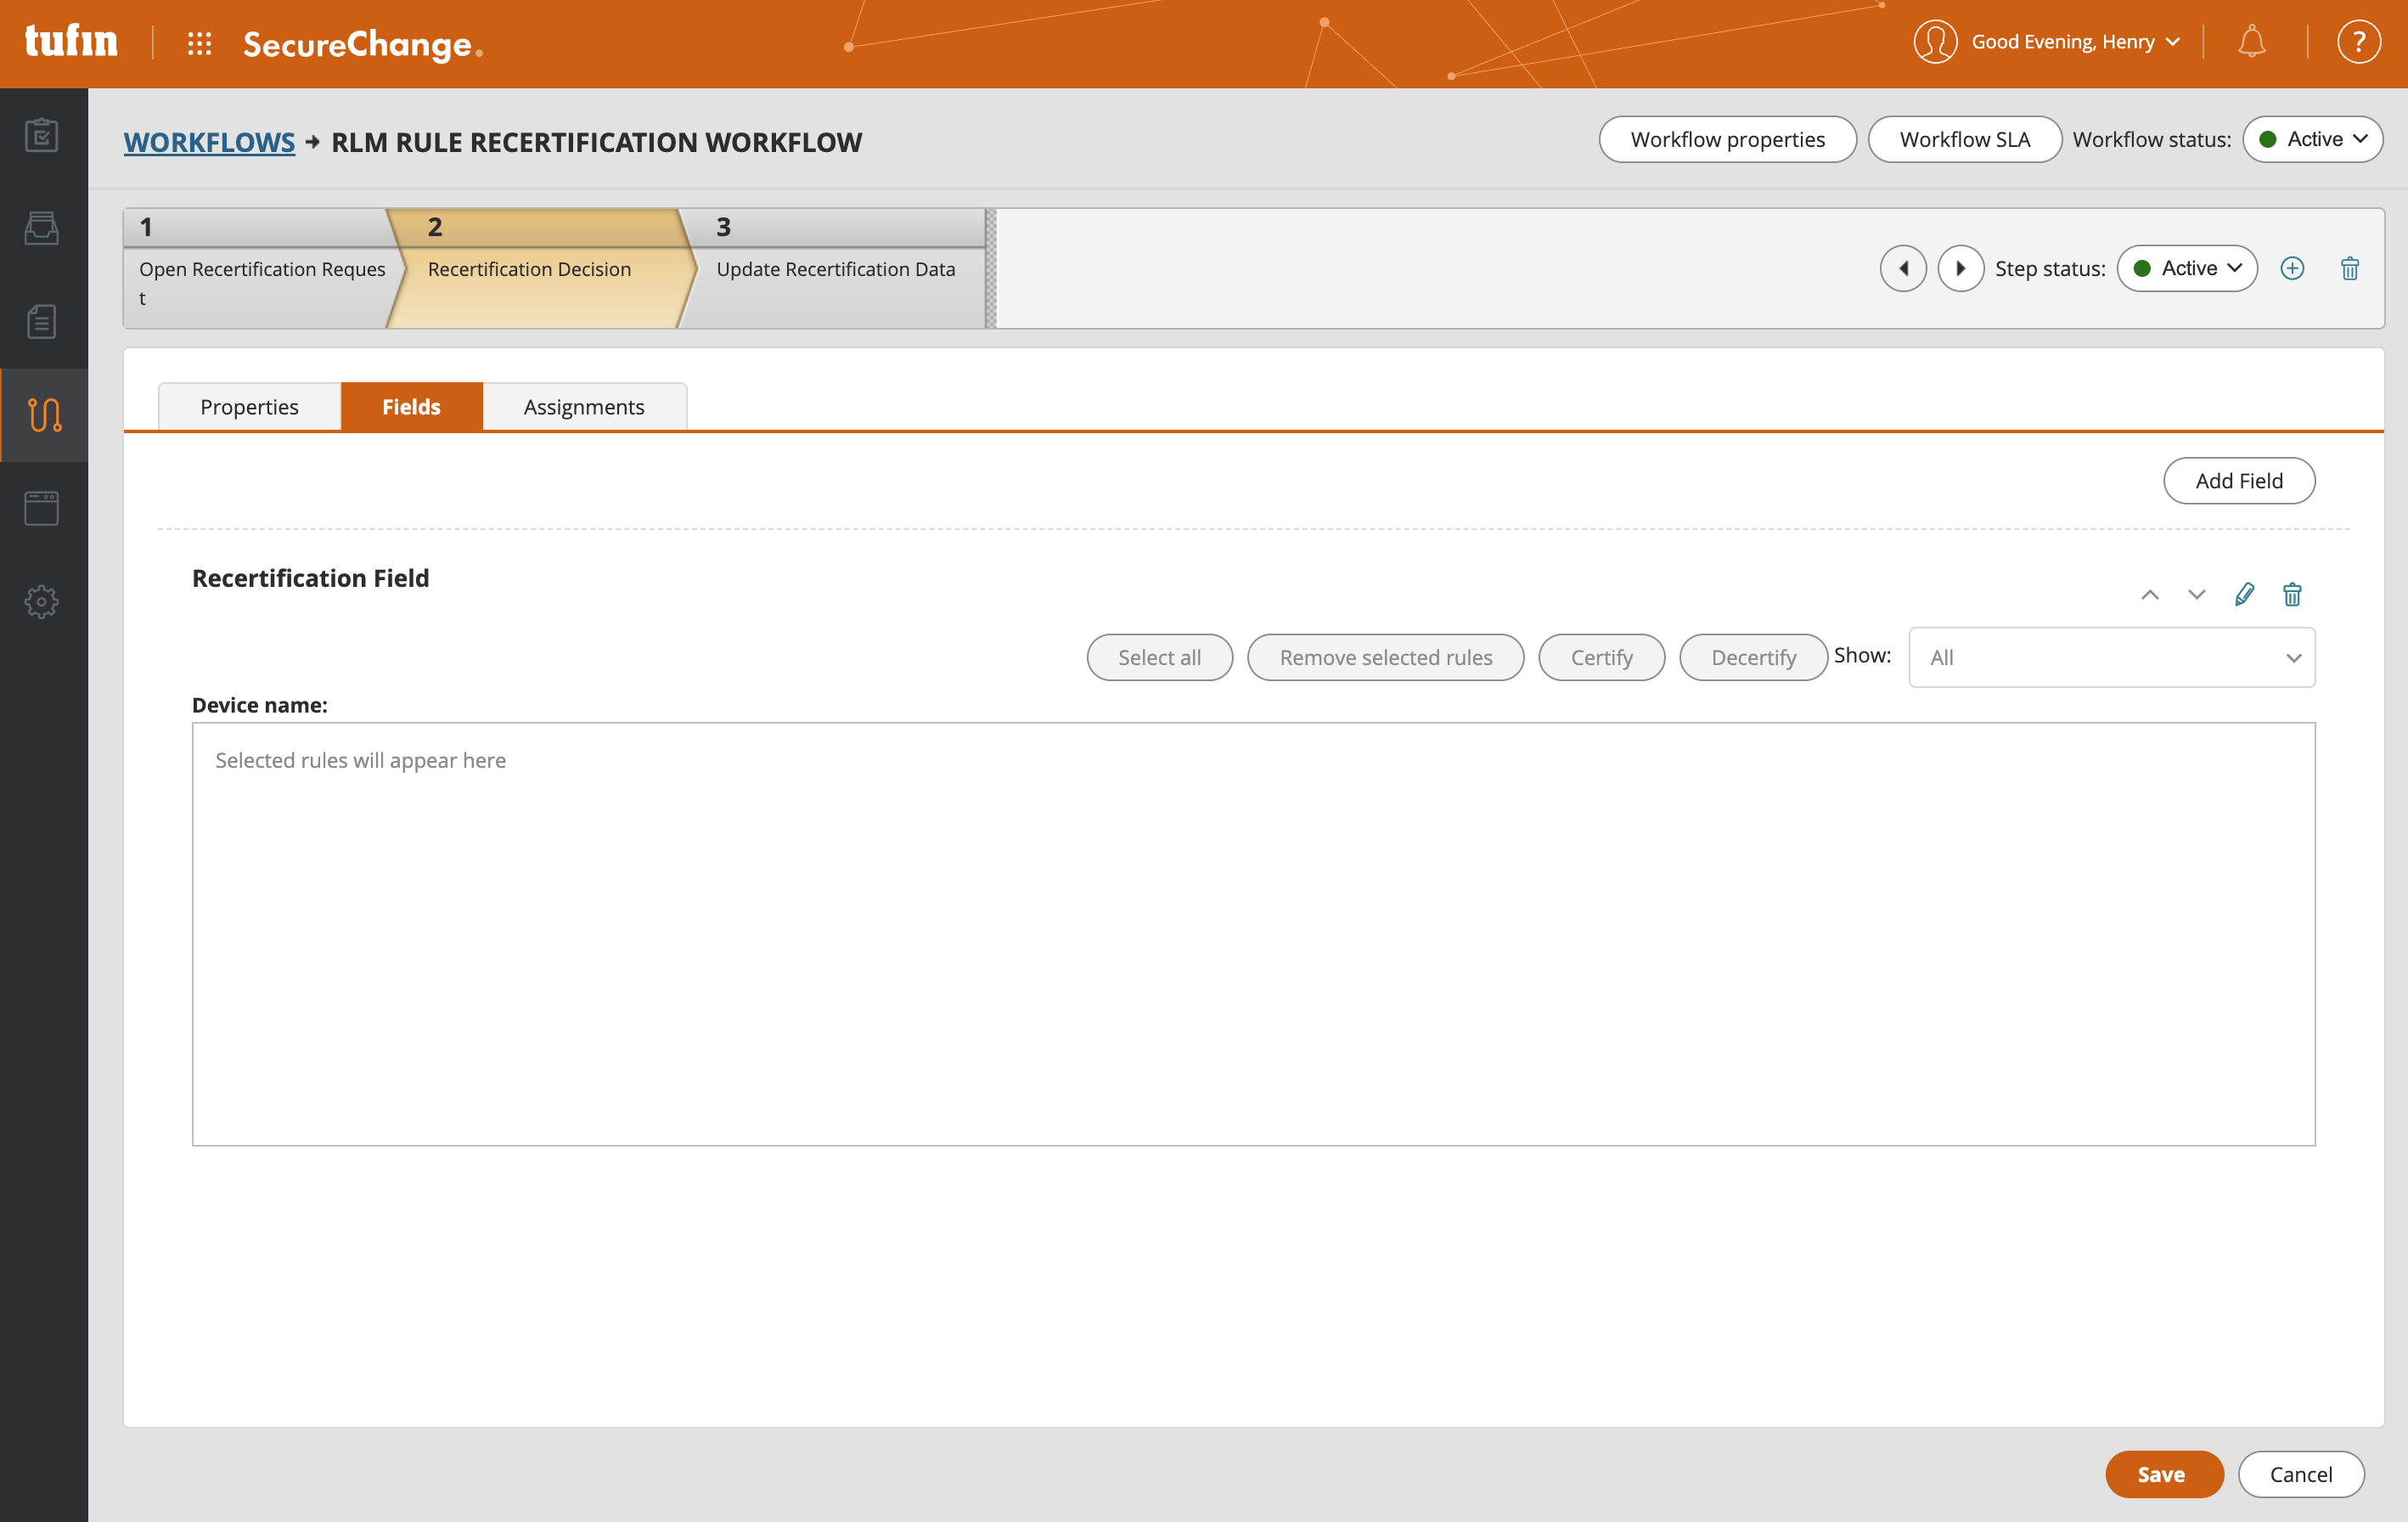
Configure Step 2: Business Approval
-
Click Add Field.
-
From the Add Field screen, configure:
Field Type: Rule Recertification
Name:
-
Click OK.
-
Navigate to the Assignments tab.

-
You have three options for how to configure this step:
-
If you would like the step to be handled manually: Assign to any user you choose.
-
If you would like the step to be automatically handled by the RLM App Administrator: Assign to the Ticket Requestor. Automatically update rule recertification metadata must be selected in RLM.
-
If you would like the step to be automatically handled within SecureChange:Assign to an account affiliated with a custom automation bot or script.
-
-
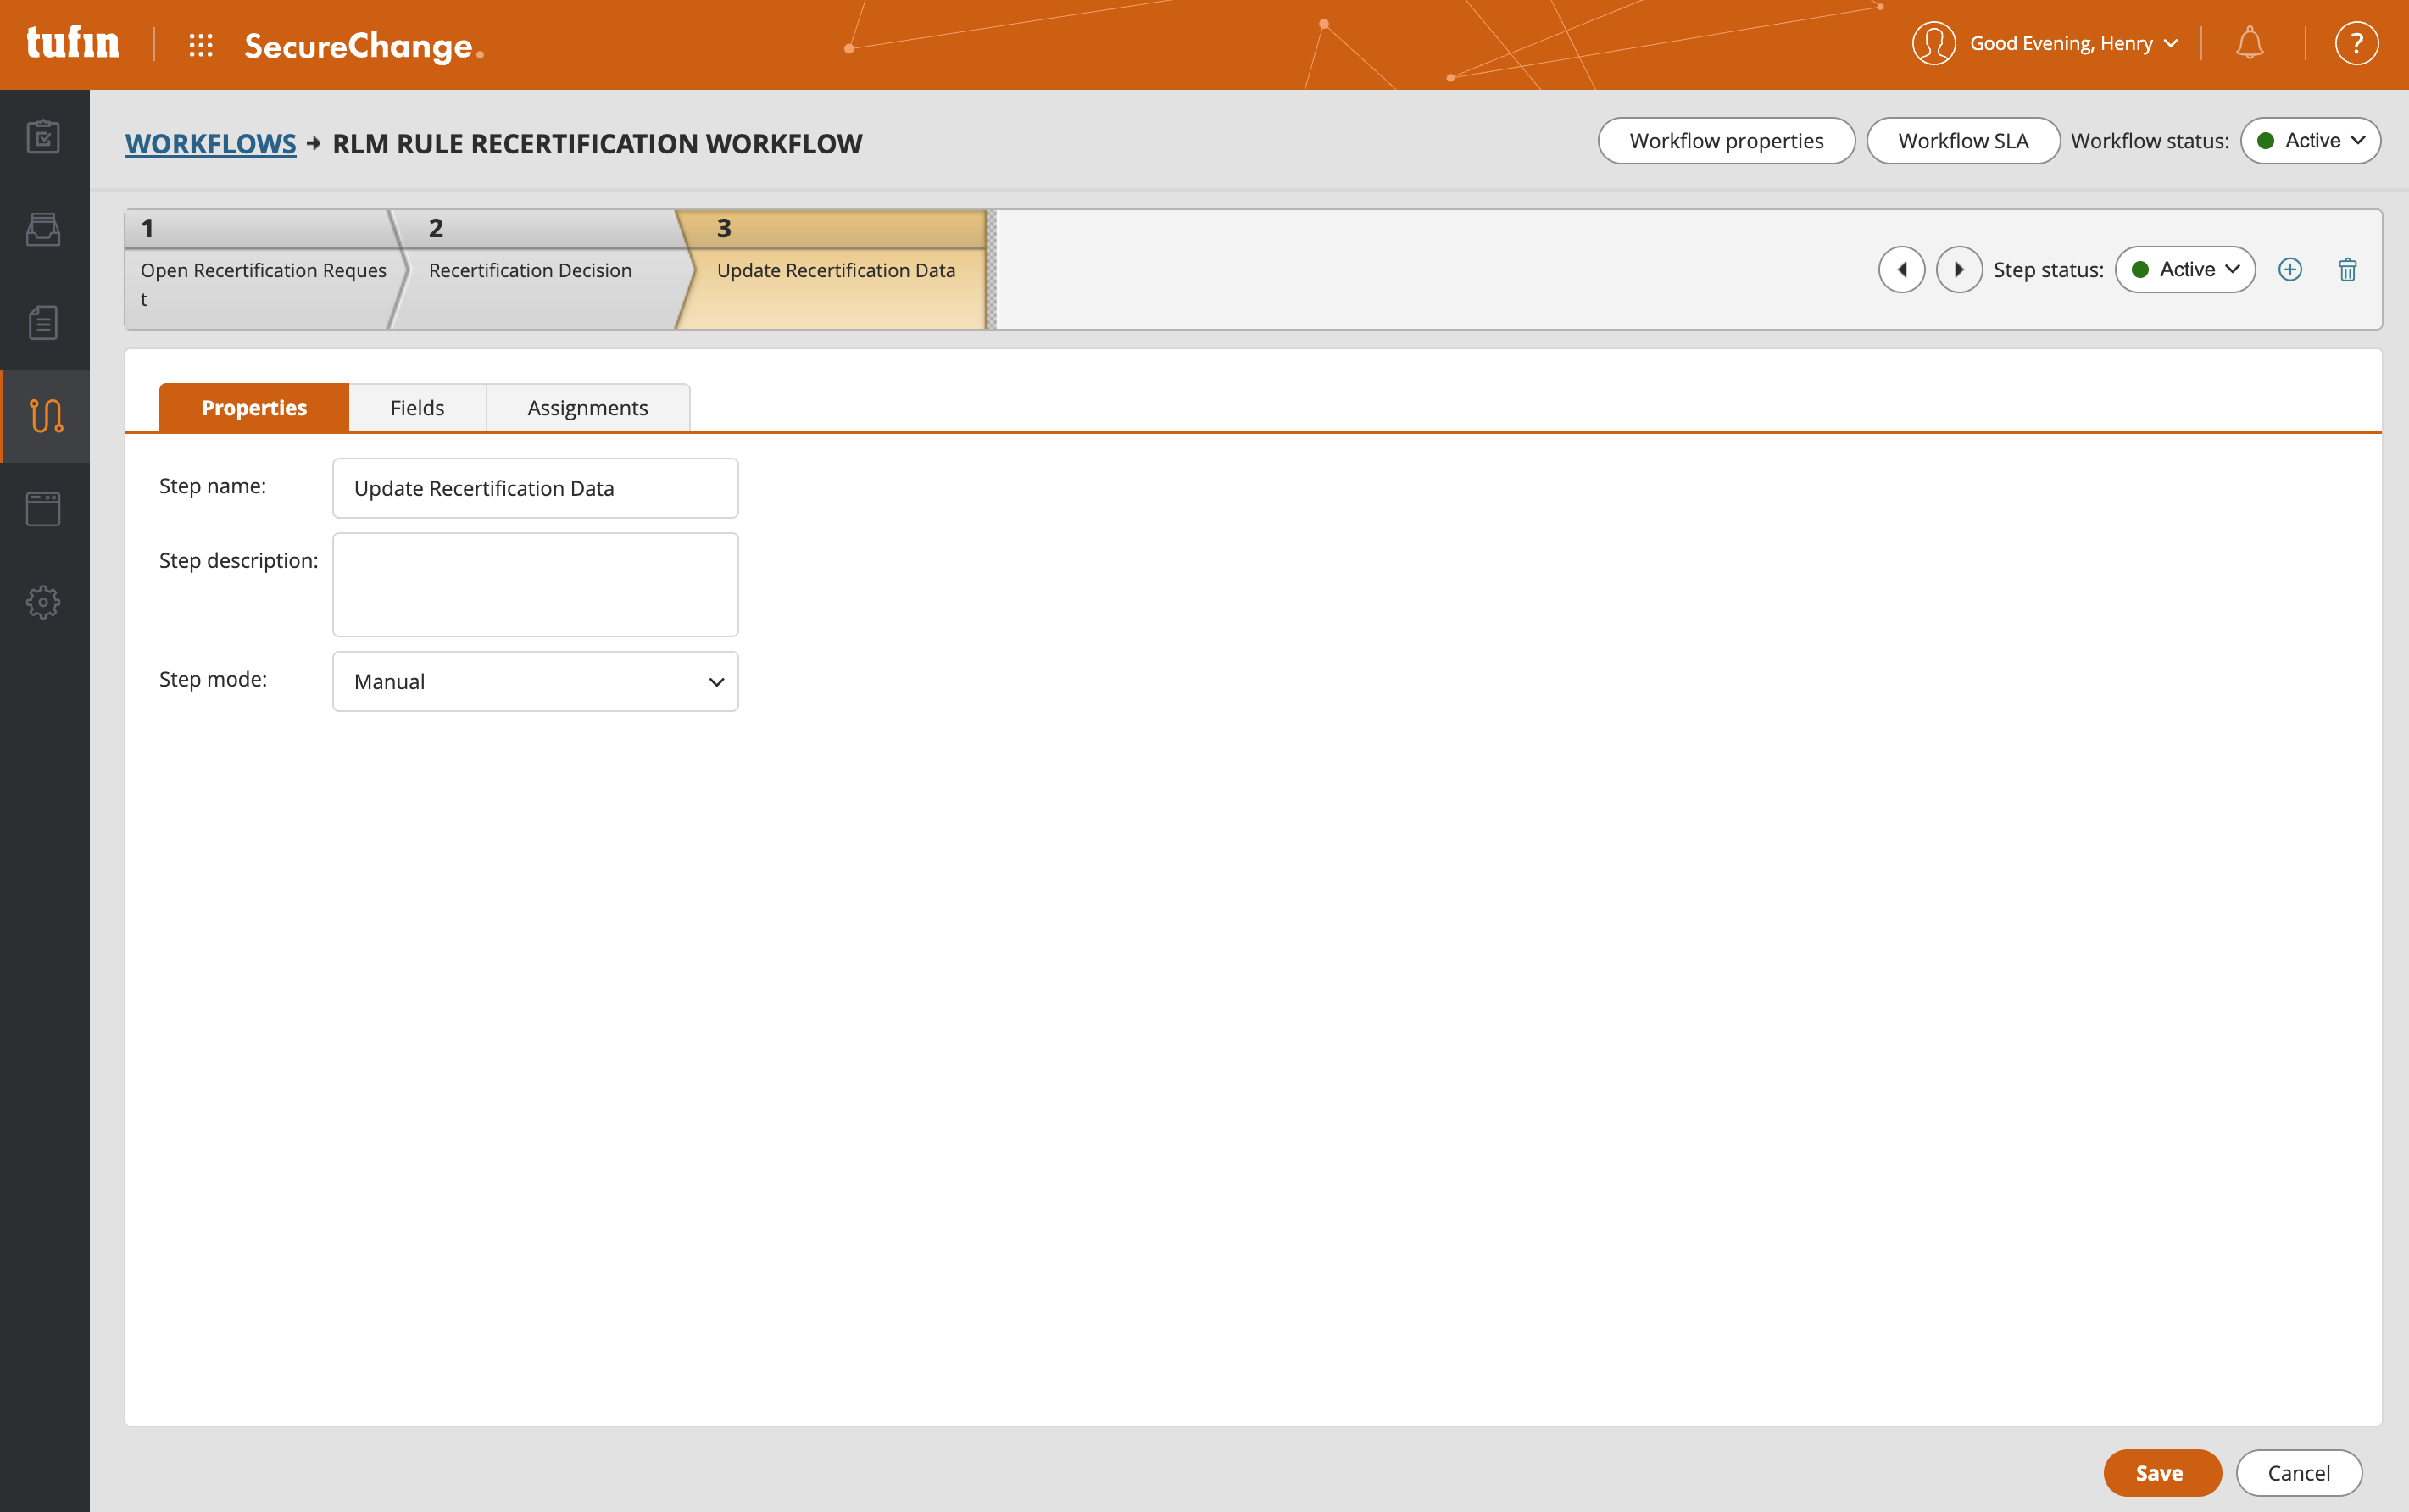
- Navigate to Step 3: Re-certify.
-
Navigate to the Fields tab.
-
From the Add Field screen, configure:
Field Type: Rule Recertification
Name:
-
Click OK.
-
Navigate to the Assignments tab.
-
You have three options for how to configure this step:
-
If you would like the step to be handled manually: Assign to any user you choose.
-
If you would like the step to be automatically handled by the RLM App Administrator: Assign to the Ticket Requestor. Automatically update rule recertification metadata must be selected in RLM.
-
If you would like the step to be automatically handled within SecureChange:Assign to an account affiliated with a custom automation bot or script.
-
Creating a Custom Rule Recertification Workflow
You also have the option to create your own custom RLM Rule Recertification workflow.
If you would like to add more custom steps, you will be prompted to at the end of the procedure after you have created all the required steps.
- From SecureChange, navigate to the Workflows page.
-
Select New Workflow.
The Workflow Properties screen appears.
-
Fill in workflow details:
Name:
Type: Rule Recertification
- Click
OK.
Step 1 > Properties is displayed.
-
Configure Step 1:
-
From Step 1, navigate to the Fields tab.
-
Click Add Field.
-
From the Add Field screen, configure:
Field Type: Rule Recertification
Name:
-
Click OK.
-
Navigate to the Assignments tab.
- Select the user assigned to be Ticket Requester, then add any additional users that you want to be assigned to this step. Alternatively, select Any Participant.
- Click Save.
-
-
Add a new step.

-
Configure Step 2.
Step 2 must be used to implement the certification. If you would like to add additional workflow steps, do so after this step.-
From the Properties tab,
-
From the Add Field screen, configure:
Field Type: Rule Recertification
Name:
-
Click OK.
-
Navigate to the Assignments tab.
-
You have three options for how to configure this step:
-
If you would like the step to be handled manually: Assign to any user you choose.
-
If you would like the step to be automatically handled by the RLM App Administrator: Assign to the Ticket Requestor. Automatically update rule recertification metadata must be selected in RLM.
-
If you would like the step to be automatically handled within SecureChange:Assign to an account affiliated with a custom automation bot or script.
-
-
-
Add a new step.
-
From Step 1, navigate to the Fields tab.
-
From the Add Field screen, configure:
Field Type: Rule Recertification
Name:
-
Click OK.
-
Navigate to the Assignments tab.
-
You have three options for how to configure this step:
-
If you would like the step to be handled manually: Assign to any user you choose.
-
If you would like the step to be automatically handled by the RLM App Administrator: Assign to the Ticket Requestor. Automatically update rule recertification metadata must be selected in RLM.
-
If you would like the step to be automatically handled within SecureChange:Assign to an account affiliated with a custom automation bot or script.
-
- If you would like to add additional steps, you may do so between Steps 2 and 3. Howevever, you must ensure that Business Approval remains Step 2 and Rule Re-certify remains the last step. Additional steps can contain fields other than the rule recertification field and be assigned to users other than the SecureChange user defined in the Login username field in the Settings menu. RLM monitors the progress of the rule continuously and waits for the Handler to update the rule metadata manually.
This will be the last step in your workflow. If you would like to add custom steps to the workflow, first configure this step and then insert any custom steps in between steps 2 and 3.
