On This Page

Configure
Proceed only if...
- You have completed the upgrade to TOS Aurora
- You have run all verification steps and the results indicate the upgrade was successful
Otherwise, go back.
In this step you will:
-
Setup TOS Aurora following successful upgrade from TOS Classic.
Professional Services
If you are a PS (Tufin Professional Services) customer,
-
Restart the PS web service
-
Enable the PS cron job
Edit the cron file
Delete the # character from the beginning of the PS-scripts line
# 1 * * * * cat /opt/tufin/securitysuite/ps/PS-Scripts
Scale Factor
If your sizing requirements specifies includes setting the scale factor,
[<ADMIN> ~]$ sudo tos config set -p scale.factor=<SCALE-FACTOR> -cwhere SCALE-FACTOR is a value between 2 and 4. There is no need to set the scale factor to 1 because this is the default on installation.
SSL Certificates
Secured connections to TOS Aurora require a valid SSL certificate. Such a certificate is generated during the installation. It is automatically renewed when it expires and also when upgrading to later versions of TOS Aurora. When connecting for the first time after certificate renewal, you will be prompted to accept the new certificate. You can also use your own CA signed certificate, but such certificates will not be renewed automatically.
SAN Certificates
If you have FortiManager devices in SecureTrack, add a SAN signed certificate to each device.
Remote Collector
If the installation was for a remote collector, connect it to the central cluster now.
Restoring Tufin Extensions (formerly Tufin Marketplace) and Data
If you have any of the Tufin extensions below:
-
Reinstall the latest TOS Aurora versions.
- Restore your data by following the steps in the section 'In TOS Aurora' for each one.
Using Syslog for Accountability and More
You can use syslog to send accountability and other information from your devices to SecureTrack - see Sending Additional Information via Syslog. If you want to use this feature and you have installed TOS on-premise, you must also set up a Syslog VIP Address.
Adding Worker Nodes to Your Cluster
TOS Aurora is now deployed as a single node Kubernetes cluster. See Multi-Node Cluster for more information about adding additional nodes.
Setting up Scheduled Backups
We recommend creating a backup policy as soon as possible.
HA (High Availability)
If you want TOS Aurora to run in HA, see high availability.
TOS Monitoring
TOS Monitoring lets you monitor the status of the TOS cluster and its nodes by generating a notification whenever a change in status occurs, such as a node failing, or a usage threshold reached, such as CPU or disk usage. We recommend that you set up TOS notifications in TOS Monitoring (see TOS Monitoring).
Additional Configuration
A number of additional parameters can be set now or later e.g. session timeout and SNMP - see Configuring TOS.
SecureChange Settings
Relevant only for central clusters, skip for remote collectors.
If you have SecureChange:
- If you are not already logged in to SecureTrack, log in now.
-
Create a new SecureTrack administrator user that SecureChange and SecureApp will use to get SecureTrack information. If you have already configured multi-domain management, make this user either a super administrator or multi-domain administrator, depending on whether you want to restrict the administrator to selected domains.
-
Sign into SecureTrack.
-
Using SSO: From R22-1, TOS uses Single Sign-On (SSO) authentication method by default.
-
Log into TOS.
-
For your first login session, you must change your password:
-
You are automatically logged into SecureTrack. To log into SecureChange, type
https://<IP>/securechangeworkfloworhttps://<IP>/tufinapps/securechangein the browser URL, where <IP> is the cluster VIP or external load-balancer IP.
-
-
Not using SSO:
-
For your first login session, you must change your password. SecureChange users are separate from SecureTrack users; there is no connection between a SecureTrack user and SecureChange user with the same name.
-
In this prompt window, you can also enter an email address for administrative email notifications. We recommend using the address of an email list so you can easily edit the list of recipients.
-
Login to SecureChange at
https://<IP>/securechangeworkfloworhttps://<IP>/tufinapps/securechangewhere <IP> is the cluster VIP or external load-balancer IP, with your admin credentials.
-
-
-
Go to
 Settings > Miscellaneous.
-
Go to
 Settings > SecureTrack:
-
Enter the SecureTrack administrator username, created previously.
-
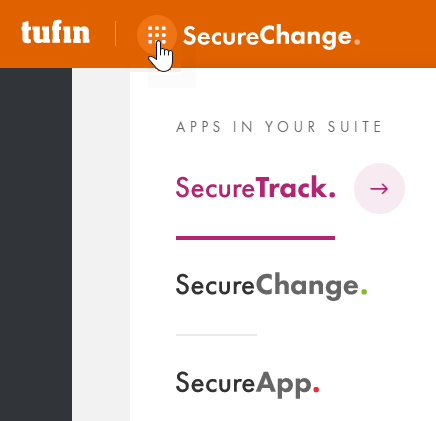
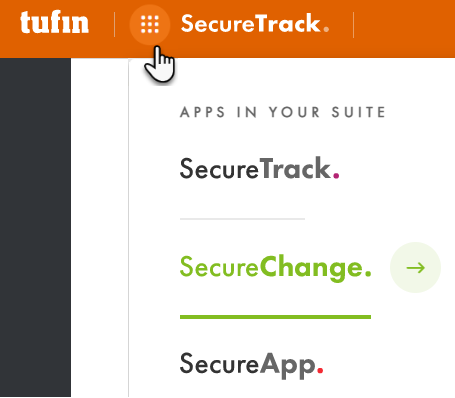
If you want a link from SecureChange to SecureTrack and from SecureTrack to SecureChange, select Show link to SecureTrack. These two links will appear in the applications icon menu in both systems:
-
If you want to change how often SecureChange tests its connectivity to SecureTrack, change the value of Connection check interval.
-
Click Test connection to verify that SecureChange has a connection to SecureTrack.
-
Click Refresh license status so that SecureTrack and SecureChange share the highest level of connectivity.
-
Click Save.
-
Enter a value for Server DNS name - the DNS server to use for links in email notifications. This can be an IP address in the format 11.22.33.44 or a FQDN in the format https://mydomain.com. The SecureChange DNS name is published by SecureChange so it can be accessed from external sources. For example, it is embedded in notification mails sent by SecureChange, which include a link to a ticket, such as an email notifying a handler assigned with a task, or informing a requester that the ticket has been successfully resolved.
Set up Remote Collectors
If you have remote collectors that have not yet been upgraded to TOS Aurora, go back and repeat the setup and install process for each one, starting from Set up the Target Platform.
 Previous


