On this page
Monitoring Check Point CLM/Log Server Devices
Overview
Configure monitoring of Check Point servers in this order:
-
Provider-1 MDS
-
SmartCenter servers and Provider-1 CMAs
-
Log Servers and CLMs
Prerequisites
-
Configure the Check Point Management server for OPSEC communication with SecureTrack.
Add a device
-
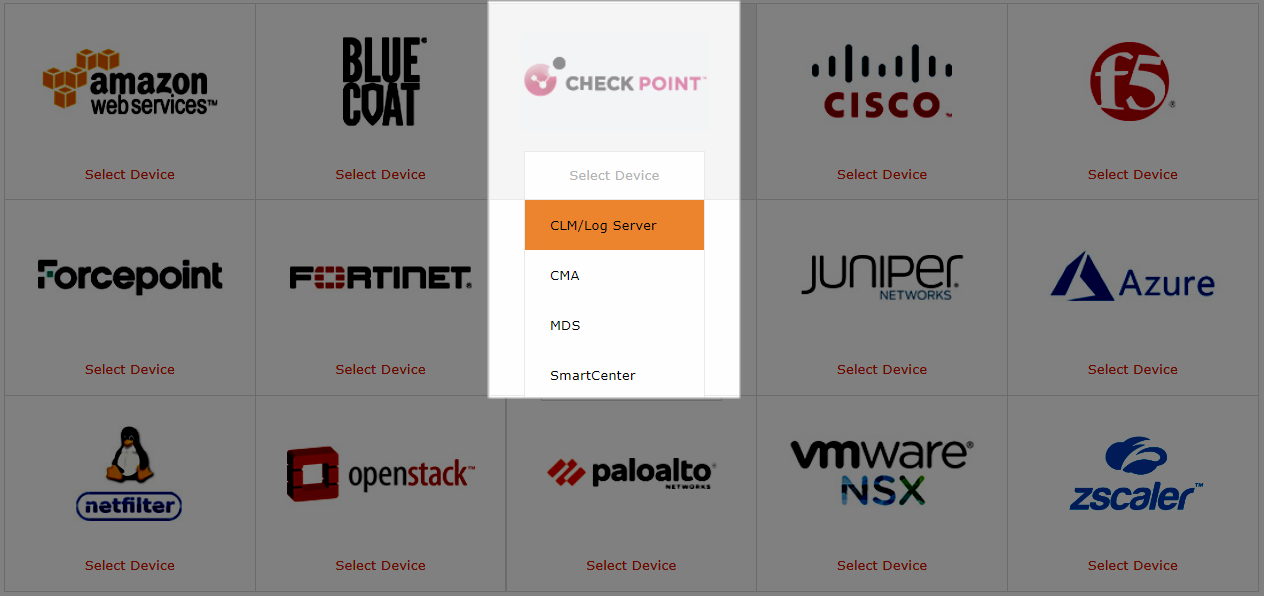
Select Check Point > CLM/Log Server:
- Configure the device settings:
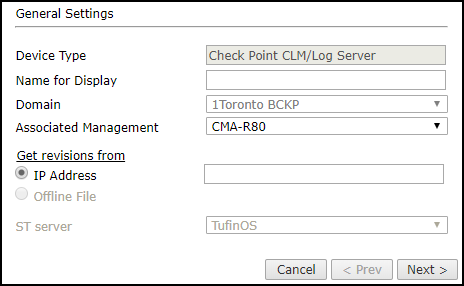
Depending on the Check Point server type, some or all of the following options will appear:
- Device Type: Check Point CLM/Log Server
- Name for Display
Domain: Available only if you have configured your system for managing multi-domains and All Domains is currently selected. Select the domain to which to add the device. The Domain can only be entered when adding a device; to change the Domain, you must migrate the device.
- Associated Management: The SmartCenter sending logs to the Log Server, or the CMA sending the logs to the CLM.
- Get revisions from: One of the following:
- IP Address: Revisions are retrieved automatically
- Offline File: (If available) Revisions are manually uploaded to SecureTrack for Offline Analysis
This option is not available for Check Point CLM/Log Server devices.
ST server: In a distributed deployment, select which TOS cluster monitors this device (not shown in image)
-
Click Next.
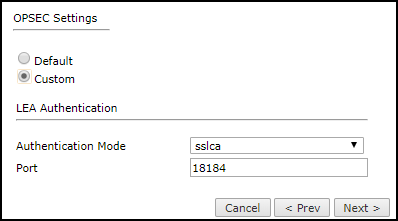
- Configure the OPSEC communication settings:
- Default
- Custom - Configure the LEA Authentication fields:
- Authentication Mode - Some options require you to enter an SL or FWN1 Secret Key in the Authentication Keys section and Establish Authentication Key.
- Port
-
Click Next.
- You can test the communication with the Check Point server by clicking Test Connectivity:
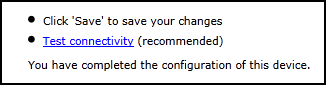
- Click Save.
The Check Point device is shown in the Device Configuration list.
If you use non-standard LEA authentication, see Non-Standard LEA Authentication.
-
If you have a secondary Check Point management server, configure SecureTrack to communicate with the secondary server in the event of a failover.
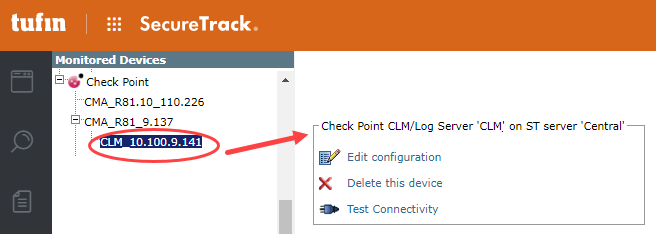
Configure a monitored device
After you add a device, further configuration options are available.
Options vary depending on your environment.
-
Edit configuration: Use the wizard to modify selected device settings. See Add a Device in this topic.
-
Delete this device: Type yes to confirm that you want to delete the device.
-
Test Connectivity: Confirms connectivity between SecureTrack and the device.
How do I get here?
SecureTrack > Monitoring ![]() > Manage Devices
> Manage Devices
Was this helpful?
Thank you!
We’d love your feedback
We really appreciate your feedback
Send this page to a colleague