On this page
Using the Risk Analysis Tool
|
|
This KC page is intended for SecureChange handlers who are responsible for processing change requests. |
Overview
When handling a task containing an Access Request field, you can obtain automatic risk information. The Risk Analysis tool considers the request’s security and compliance based on its source, destination, and service or application, compared to the defined USP matrices.
When a request whose targets are Palo Alto devices, includes application identities (both predefined and custom applications), the risk analysis considers application group members in the request as no risk when the USP contains either the parent application group or the member itself. There is no automatic translation between an application and its services. If in the USP an application is specified and not its service, and in the request the application's service is specified and not the application, or vice versa, this will be considered a risk.
Risk analysis is only available if it was enabled for the step in workflow configuration. The following types of analysis are available:
-
External risk analysis: Risk Analysis is calculated based on a third party tool. For details, see Configuring 3rd Party Risk Analysis
-
Unified security policy: SecureChange matches the access request traffic with SecureTrack zones, where the Internet zone is defined by all IP addresses except for those that are included in other SecureTrack zones. Any traffic that violates the SecureTrack Unified Security Policy (USP) is shown as a violation.
If a URL category is used in the destination column of an access request, Risk Analysis uses the zone mapped to that category (default is Internet) to match against the USP.Limitation: Risk is calculated only when the USP includes all domain zones on the relevant side. If the USP uses only specific subnets, a destination URL category will not trigger a violation.
Rule properties that violate the USP are not included in the risk analysis, and do not appear as violations.
When there is a risk, you can:
-
Move to the next step with the risk
-
Reject the ticket
-
Disregard the risk
Obtain automatic risk information using risk analysis
-
In the Access Request field, click Risk Analysis:
If there is no Risk Analysis button, check if risk analysis was enabled in this step of the workflow configuration.
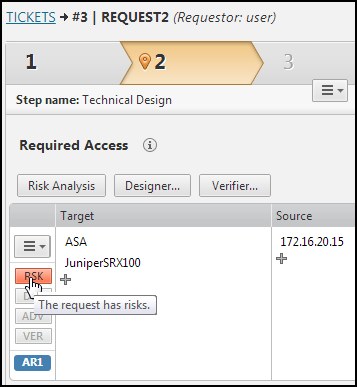
The RSK button appears in one of these colors:
-
Green: Request does not violate any configured policies (
 ).
). -
Red: Request violates at least one policy (
 ).
). -
Yellow: The system cannot run Risk Analysis (
 ).
).
-
-
If the RSK button is red, click
to view the risk details. 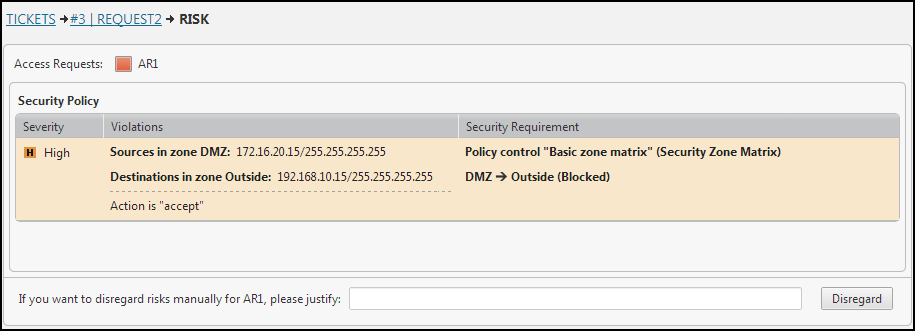
-
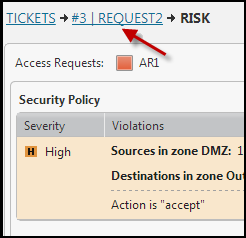
To return to the request, click the request name in the bread crumbs.
-
When there is a risk, you can:
-
Move to the next step with the risk:
-
Click Done. The RSK button remains red, and the workflow moves to the next step.
-
- Reject the ticket:
-
From the Manage Tasks options, click Reject Ticket:
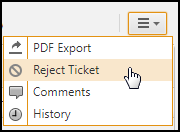
-
Enter a reason and click Reject. The ticket is closed.
-
-
Disregard the risk:
-
Click
to view the risk details. -
Enter an explanation, in the textbox at the bottom of the window and click Disregard.

-
Click the request name in the bread crumbs to return to the Request window. The RSK button changed to green with an asterisk (
 ) to indicate that the risk that was manually disregarded. A disregarded risk email is sent, as configured in the mail notifications.
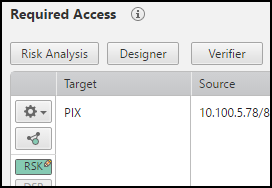
-
-
How do I get here?
SecureChange > Tickets
Was this helpful?
Thank you!
We’d love your feedback
We really appreciate your feedback
Send this page to a colleague